July 31, 2012
Man Cave
Who would have thought that my man is so susceptible to advertising? When I picked up a paint swatch for our basement accent wall that was called “Man Cave”, he was all of a sudden so set on using that color even though it was way darker and brownish than what we were looking for. He also bought dog snacks for his parent’s dogs just because they are called “Milo’s Kitchen”. Just name things something that are meaningful to him, and he will buy them.
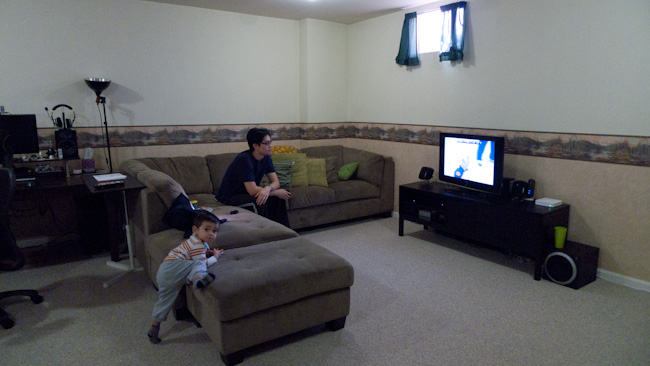
But side notes aside – this post is about the preliminary finished status of our big basement makeover. Here is a quick reminder of what it used to look like and the plans we had for it:
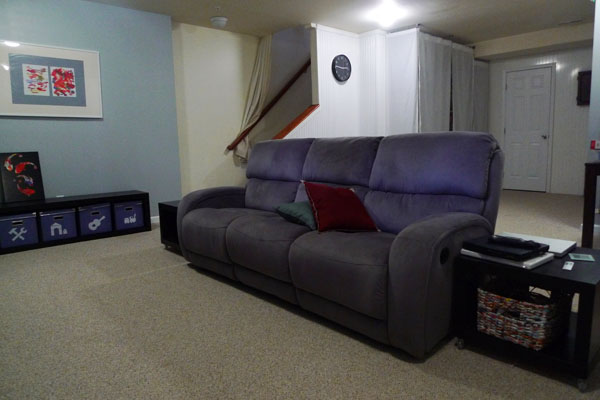
And here is the for-now-final result:
This project was really more Lincoln’s than mine, since I was getting too pregnant to help with any laborious work, he spends way more time down there anyway, and wanted it to become his very own man cave. A space where he can make the manlier design choices and that is totally technically geared up. So all I had to do was motivating him to get things done before baby arrives, help to strip down some wall paper, and moderate his design just a little bit.
Preparation
The wall paper removal and painting was the more tedious and painful part, but we had a pretty good system down (learned from the guest room makeover) and managed to finish it within two weeks (working on it almost every evening). For the walls we chose a light grey that was supposed to be color-matched to the guest bedroom walls, but turned out a little darker and blueish. Oh well, close enough for now. Therefore the darker accent wall also had to have a blueish grey undertone. We chose “Iron Frame” from Valspar and had it successfully color matched to Olympic No-VOC.
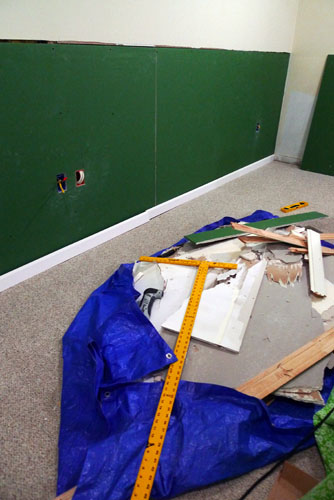
Before painting however, we had to add some more outlets to the room. There had been only three accessible outlets so far and they were both overloaded by numerous computer and TV components. This required Lincoln to take down the bottom half of one basement wall board, but the good news was that this extra step enabled us to inspect insulation levels and we were also relieved to find no mold or other moistures issues in the basement even though both our neighbors’ basement had been flooded recently.
Lincoln also added wiring for the future surround sound movie theater setup he has envisioned and laid the cables for that behind the baseboards around the room.
Furniture and Features
We bought all new furniture (except for the desk) from IKEA and the couch was a sale item from a local furniture store.
- This couch was a total score and is super comfy with memory foam, dual recliners, and all.
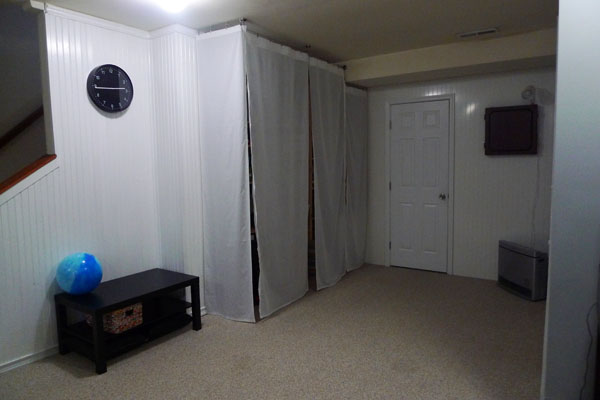
- We also concealed our messy storage shelf for all office and hobby related items. Considering the limited time and energy we had for this project we did not create a real built in closet as originally planned, but hung up a simple curtain solution from IKEA to make the mess disappear when needed.
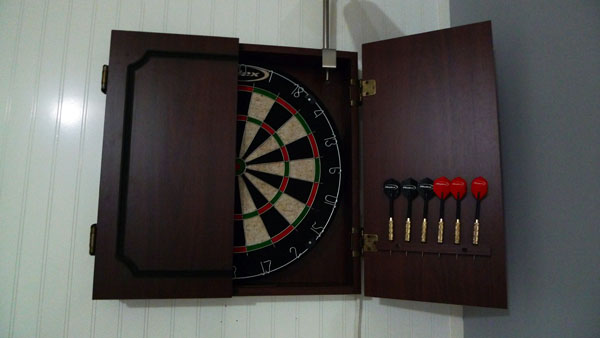
- Lincoln bought himself this long-wanted dart board cabinet. I am still trying to convince Lincoln to paint this thing the same blue-grey color as the accent wall to make it look less country.
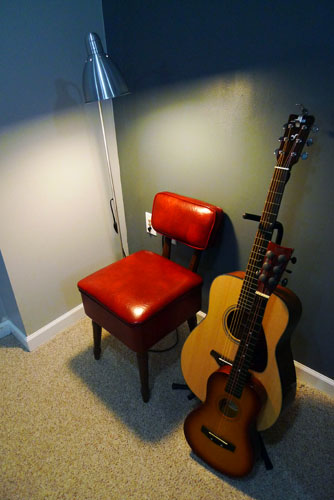
- This vintage red Vinyl chair was a find at Goodwill. It even has a storage compartment in the seat – just to my liking. You can never have enough storage space.
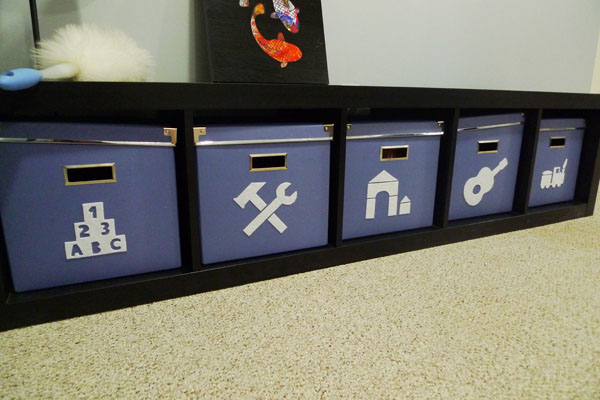
- One of the long IKEA Expedit book cases with boxes to house Milo’s toys. They are now organized by similarity and the labels I cut out of sticky felt indicate even to illiterate little toddlers which toys to find in which box and in which one they need to be put back in. Eventually I might add some cushions on top of it for additional seating.
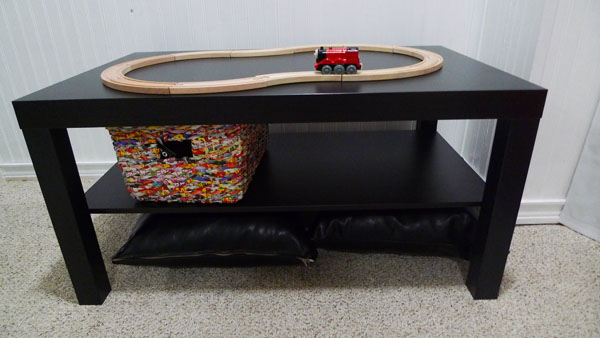
- A smaller play table. Yes, that’s right, I finally sold that big hunk of ugly orange laminate train table. This little one provides enough space for drawing, building block houses, and driving cars on it while fitting in much nicer. Whenever I get to it I will add some table toppings for different activities. Maybe a thin chalk board, a lego base plate, a traffic pattern, or other ideas as seen on this pin board. The trains are now being set up on the floor whenever needed and we can create much larger configurations.
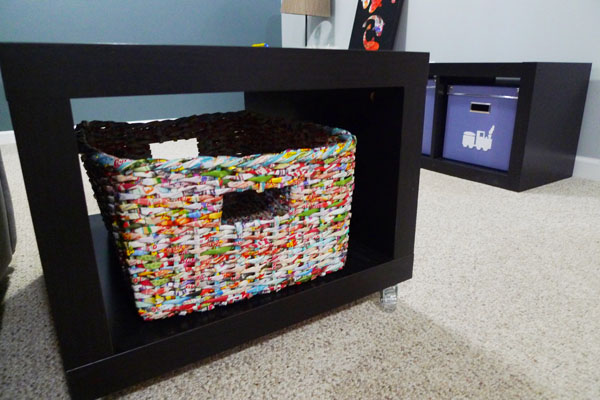
- Also, check out these cool baskets made out of woven recycled newspaper ads from China. They are nicely speckled and colorful to bring in some pop. And they fit perfectly into our side tables to hold magazines, remotes, etc. And yes, it totally bothers the color perfectionist in me how the purplish blue of the toy bins does not match anymore with how the grey-blue paint of the wall turned out. But I will not spend any more money right now, so suck it up, Nicola.
- Lincoln’s desk remained as the only old piece of furniture, but was upgraded with a self-made hutch and a giant contraption to hold his two monitors, before it moved to a more suitable location on the short wall by the laundry room.
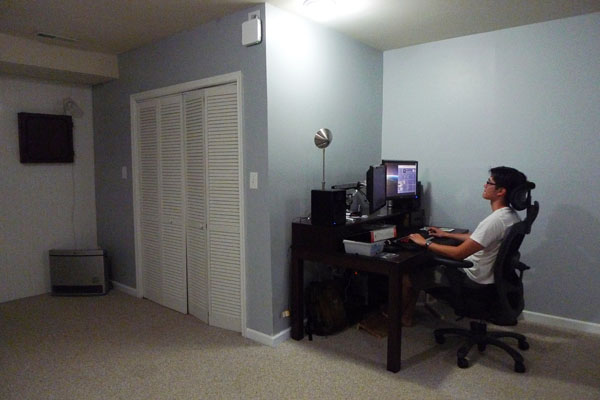
For now the furniture arrangement is still focused on the TV, but it will change a little bit once the home theatre including projector and big screen will be implemented. The sofa will then move to the large light grey wall in the back, and the screen will go up above the toy bench.
Art
The color scheme for the basement is quite different from our upstairs. Much brighter, colorful, and saturated. And there is even some red involved – my so not favorite color. But what can I say … the basement is a whole different zone. A man cave. And it is manly enough to be able to handle some red.
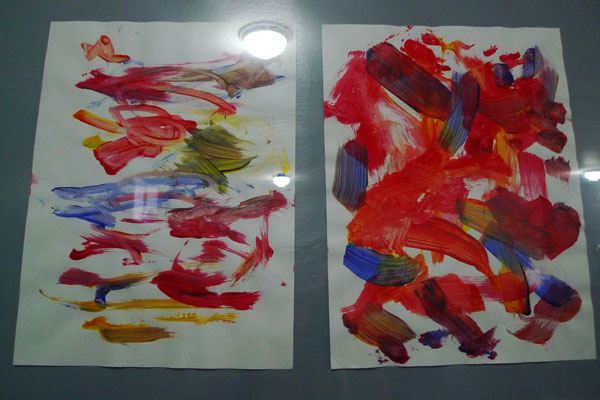
After deciding on a blueish grey backdrop of the walls, some more color was definitely called for and we found inspiration in these pictures painted by Milo:
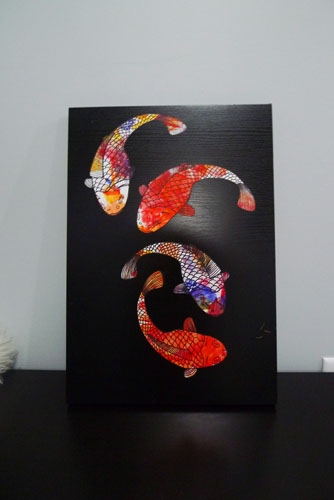
The red, orange, and yellow, make for a nice contrast to the cool blue. I also used one of Milo’s paintings for this first official piece of man cave art:
Just use a kids painting (ideally let them use only three colors, otherwise everything will turn brown eventually), put it in the printer, print some outlines on it, cut them out, and glue on a wood board from the IKEA As-Is section. This board cost me only $1 and the fish were free. See, I couldn’t have painted such a completely random pattern on the fish even if I tried.
We will definitely need lots and lots more of some cool art for the huge amount of walls down there.
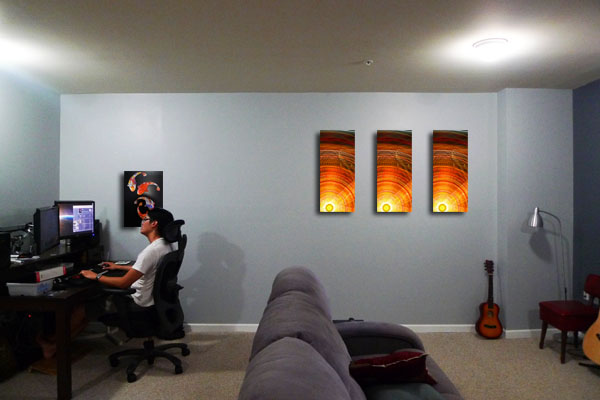
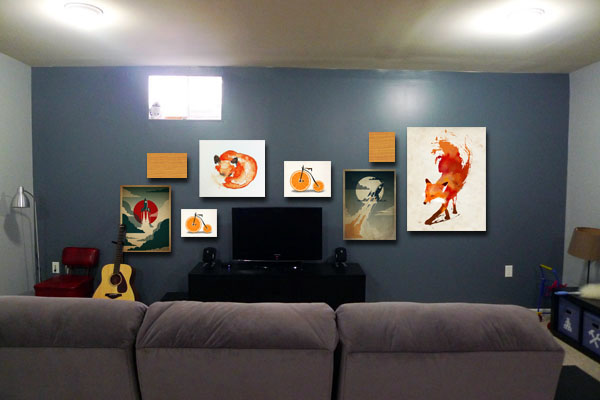
Maybe arranged like this photoshopped vision:
With some cool art from this website.
Future Plans
Still missing and on the definite list to be done:
- Improve the lighting situation. The current ceiling fixtures are still too dim and in impossible locations.
- Get some lamps for the side tables for moody lighting when no complete illumination is needed.
Phew, our biggest project yet. So glad to be done for now.
March 24, 2012
Living Underground
Our biggest task this year (besides pushing a baby out and taking care of a newborn) is to finally tackle the basement. When we moved in last year the lower level was sort of left alone as it was – hideous wallpaper and everything. Lincoln uses it for his home office and I spend only dark evenings down there anyway, so it didn’t really bother me too much what it looked like. What can I say – I am done ignoring that wallpapery mess down there. And we have to make some room shifting happening this year to fit in another child.
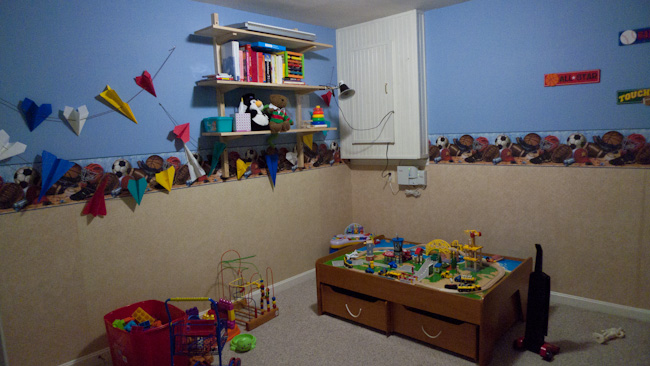
So here is the plan. The baby will move into the current guest bedroom, the guest bedroom will move into the playroom in the basement. We don’t have guests all year round anyway and for those few weeks the basement should not be too uncomfortable. The room is actually bigger and more isolated from noisy kids, the only downside is that it doesn’t have a window. But since it is mainly for sleeping anyway, I think everyone will be okay. This is what the playroom was styled like when we moved in and all we had to do was adding a few toys.
Looks totally appropriate for playing, but not really like a calming retreat for people that need to recover from touring DC all day. So, the blue, the wallpaper, and at least half of the toys will have to go.
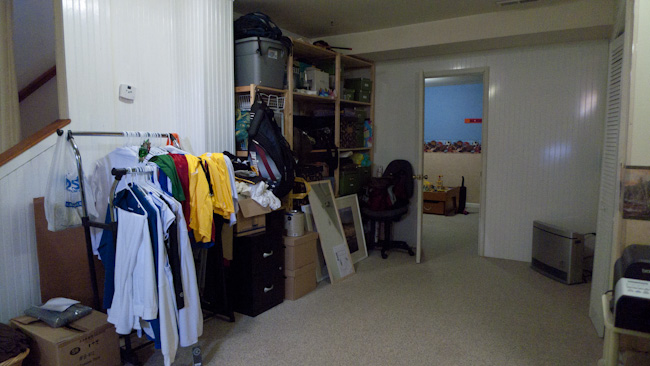
In the main part of the basement things aren’t as colorful, but it looks even crazier. There is stuff everywhere, an oversized couch occupying half of the room, and Lincoln’s work stuff spreads out wherever there is still space. Currently he has a photo studio set up on one side of the room, his extended desk area on the other side, and garments anywhere in between.
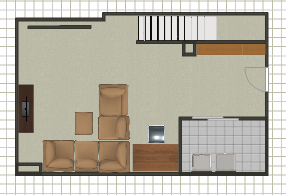
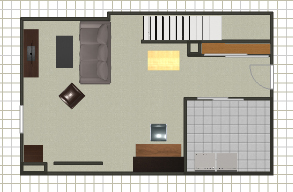
The master plan for the big room is huge. And will take some time. And might have to wait until after baby a.k.a next year. Check out here the before and planned after of furniture arrangements:
The main goal is to separate work area from living area and confine work stuff to the area that it belongs in. Of course that also requires a comprehensive desk and storage solution that Lincoln has been planning passionately and might share in another post.
These floor plans were made with the free online software homestyler and they even let you shoot a cool 3D panorama view of the designed space. Of course all with limited design options, but this is an approximate idea of what the space will look like. The shelf will be built in as a closet with sliding mirror doors. The desk and work area will be on one side of the room and the lounging area on the other side. Milo will get a small play corner for his train table and other supplies as well.
Phase 1 of the project will be to neutralize the play room due to the urgency of impending baby invasion. We already started stripping down the wall paper and priming the walls. More on that soon.
Phase 2 will be to fix the lighting situation. Currently all lights in the basement are hooked up to one switch, so if you want light in the big room, you are necessarily gonna wake up the guests in the other room or vice versa. We have to separate them into two circuits and will also upgrade them to recessed lights with brighter shine power. The current boob lights are just too dim and won’t fit any bigger light bulbs.
Phase 3 would be to tackle the walls and closet building-in in the big room. But as I said, let’s stay realistic here and see when we actually get to it.
Oh yeah, in the above floor plan I also made the laundry room a little bigger, but that is not really gonna happen. Unless we decide to build a small bathroom in the basement at some point, then we would need the additional storage area.
Okay, enough of unrealistic dreams for now and back to finishing the new guest room.

