
In: Craft
December 20, 2013
Milo’s New Advent Calendar
A few years ago, I got this sparkly advent calendar for 3 dollars at a yard sale. It was really nice and doing it’s job, the only problem was that the compartments behind the doors were so tiny, that really nothing but a piece of chocolate or other unhealthy candy would fit in them. But what I really wanted to sweeten the wait for Christmas, were some small little gifts that wouldn’t disappear in one bite. Especially now that Milo is getting into Legos, the possibilities are endless to make each day of December special.
So I went on Pinterest for the usual inspiration and found this link. It also helped that my friend Kathleen did a similar one last year. Overall this was not a cheap and quick project, but it will hopefully last through Milo’s childhood and pay off in durability and joy. I probably paid about $40 total for all 25 boxes, paint, and decoration supplies. The project took about three evenings to complete = 6 hours. And here it goes.

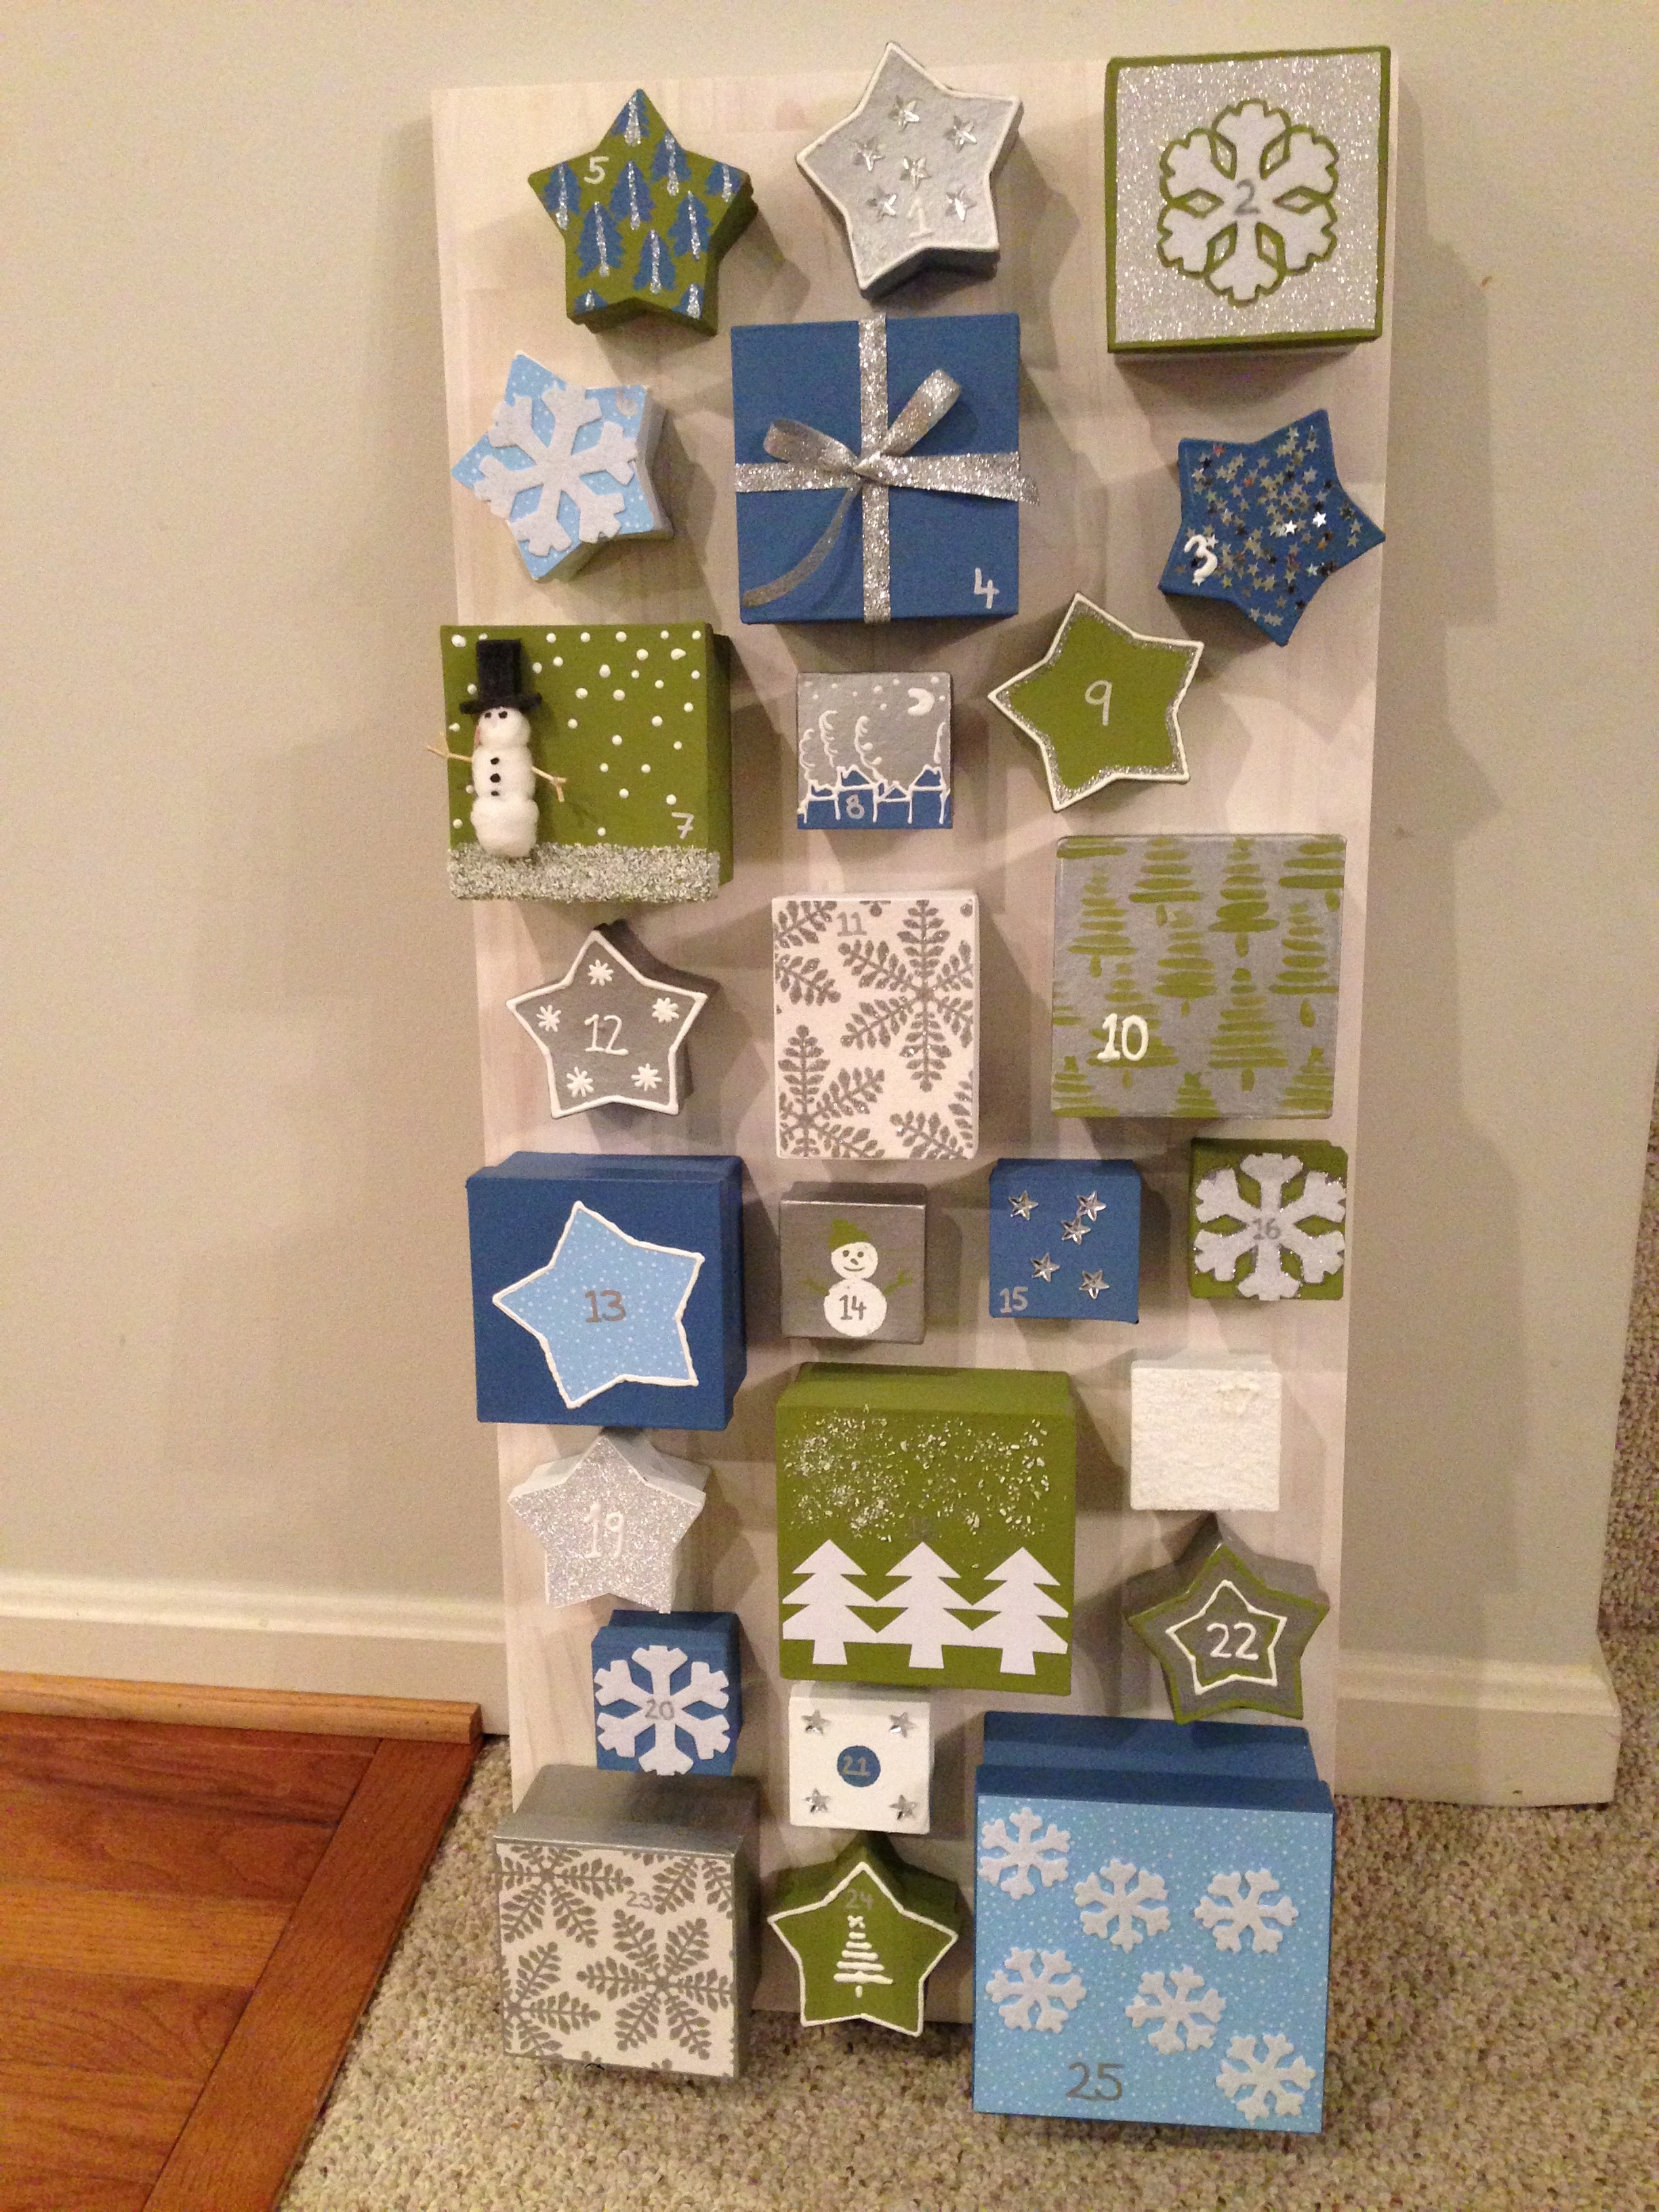
First I laid out the 25 boxes on a board that I had left over from a different project so that they would spread out nicely and not repeat too much. Then I marked each one for which base color it was to receive, also making sure not to have too many of the same color in the same neighborhood.

The next step was to paint all boxes with craft paints. Milo actually helped with this step. We painted one at a time and then put it right back into its place on the board to keep everything in order.

The main idea of this project was to have Milo involved in decorating the boxes, so I bought a bunch of stickers for easy decorating. But after glueing on 3 stars, he was “getting tired of stickers”. So, most of the decorating was left to me. Lincoln jumped in to create the most elaborate box (guess which one), and I just free-styled all the other ones. I used some glittery scrapbook paper, felt snowflake stickers, star stickers, white puffy paint, and a glitter marker. To keep things cohesive it probably helps sticking to 4-5 colors. And I made sure to use at least two of those colors on each box and sticking with winter motives like snowflakes, pine trees, snowmen, stars, etc.

Next, I whitewashed the wooden board. Whitewashing or any color washing is soo easy I can’t believe I ever bought wood stain. Just water down any existing paint (I do around 1:1 ratio, but you can water it down further to have it more transparent) and then brush on the wood. It gives the wood a soft tint while still showing the grain. After it all dried, I sealed the board with Polycrylic – another recent discovery of mine. Somehow I always thought that Polyurethane is the number one top coat to use. But Polycrylic is much less smelly, dries faster, smoother, and cleans up easily with water. It also won’t yellow over time.
Finally, it was time to attach the boxes to the board. Because I have had some incidents with hot glue losing its power from one Christmas season to the next from being exposed to all sorts of temperatures while stored in the attic, I wanted to be safe and not only used hot glue, but also drilled one small screw through the back of each box. I screwed a string picture hook in the back and hung the final product out of Felix’s reach on a wall.
Next year, it’s Felix’s turn to get one of these.