I just love taking ripping old stuff out and putting new stuff back in. Sometimes it’s just not that simple. We thought we would just be able to simply buy a bathroom vent and do a simple swap. Nope. The new ones are shaped differently and will require a bit of drywall modifications. Ugh. I. Hate. Drywall.

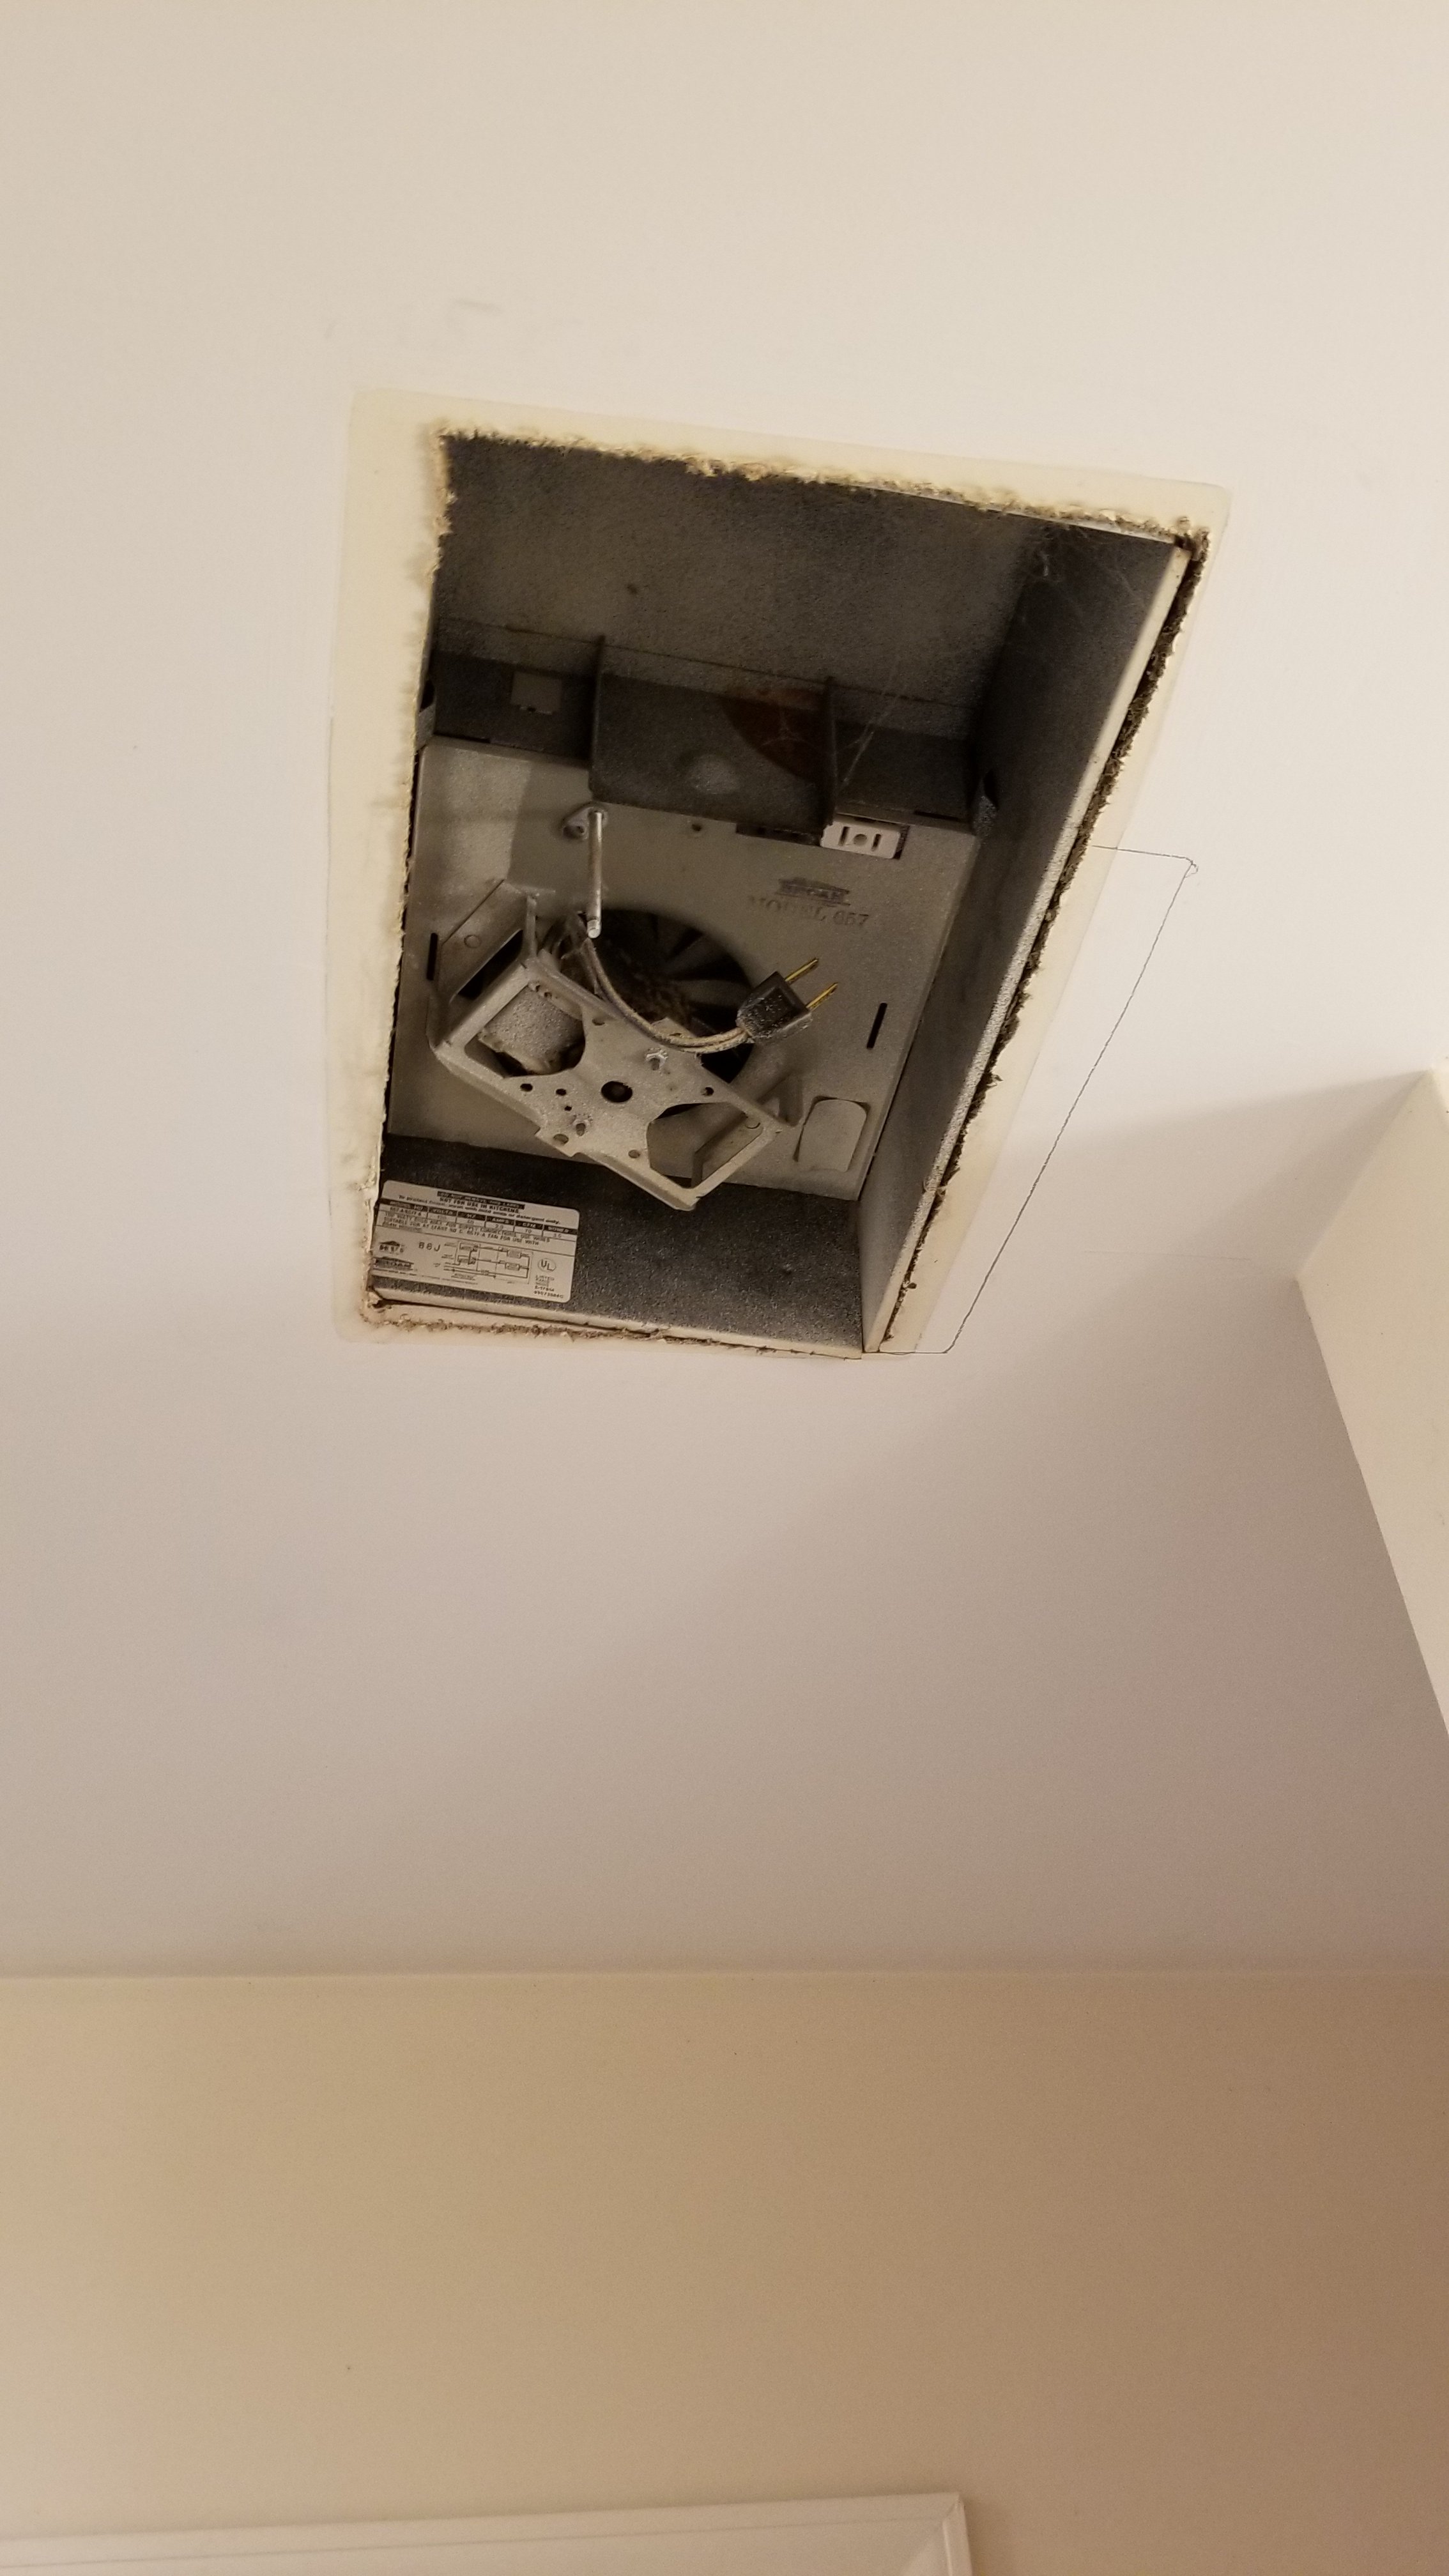
Here we have the motor housing of our old vent. The pencil line is the size of the new vent. Fun times ahead.

Now the the vent housing has been removed, we can start to cut the shape of the new one in the opening.

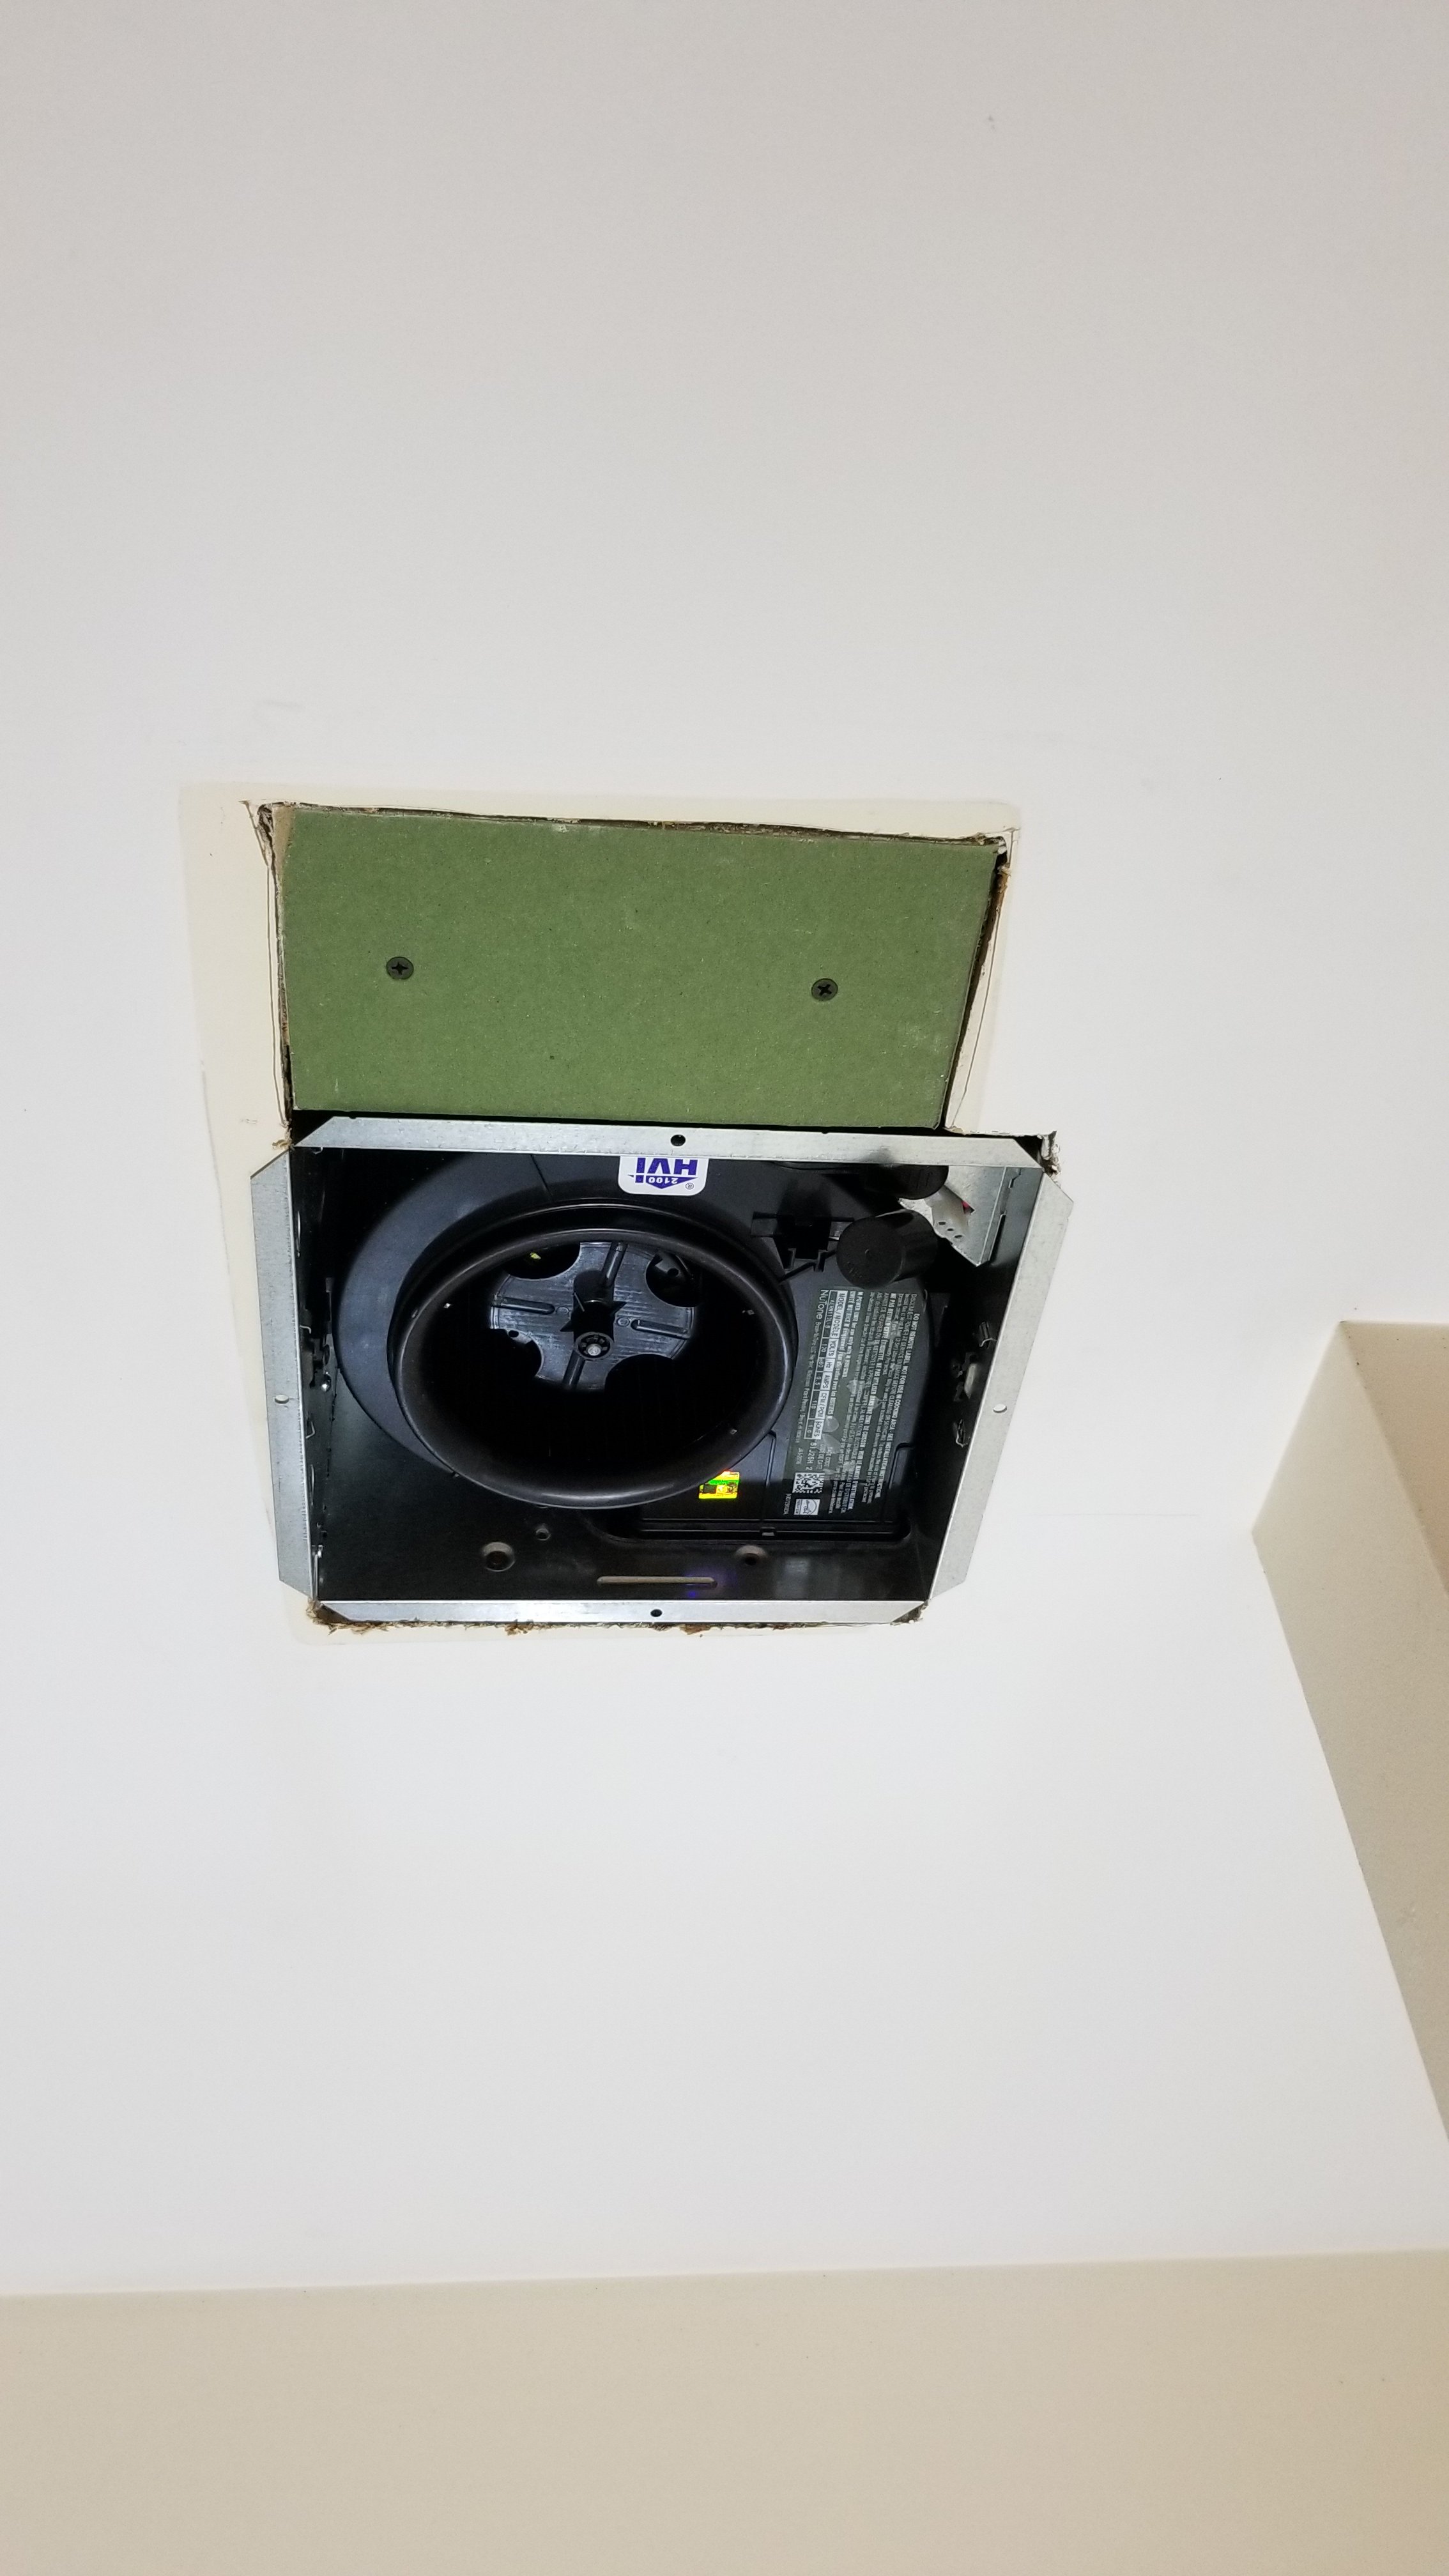
You have to install a backing board to screw in the drywall patch. For this, I used pocket holes to attach the board against the joist. Once the rough opening has been made, I mounted the vent by screwing it directly into the joist.

Once the board is in place, we can screw in the patch and get ready for mud.

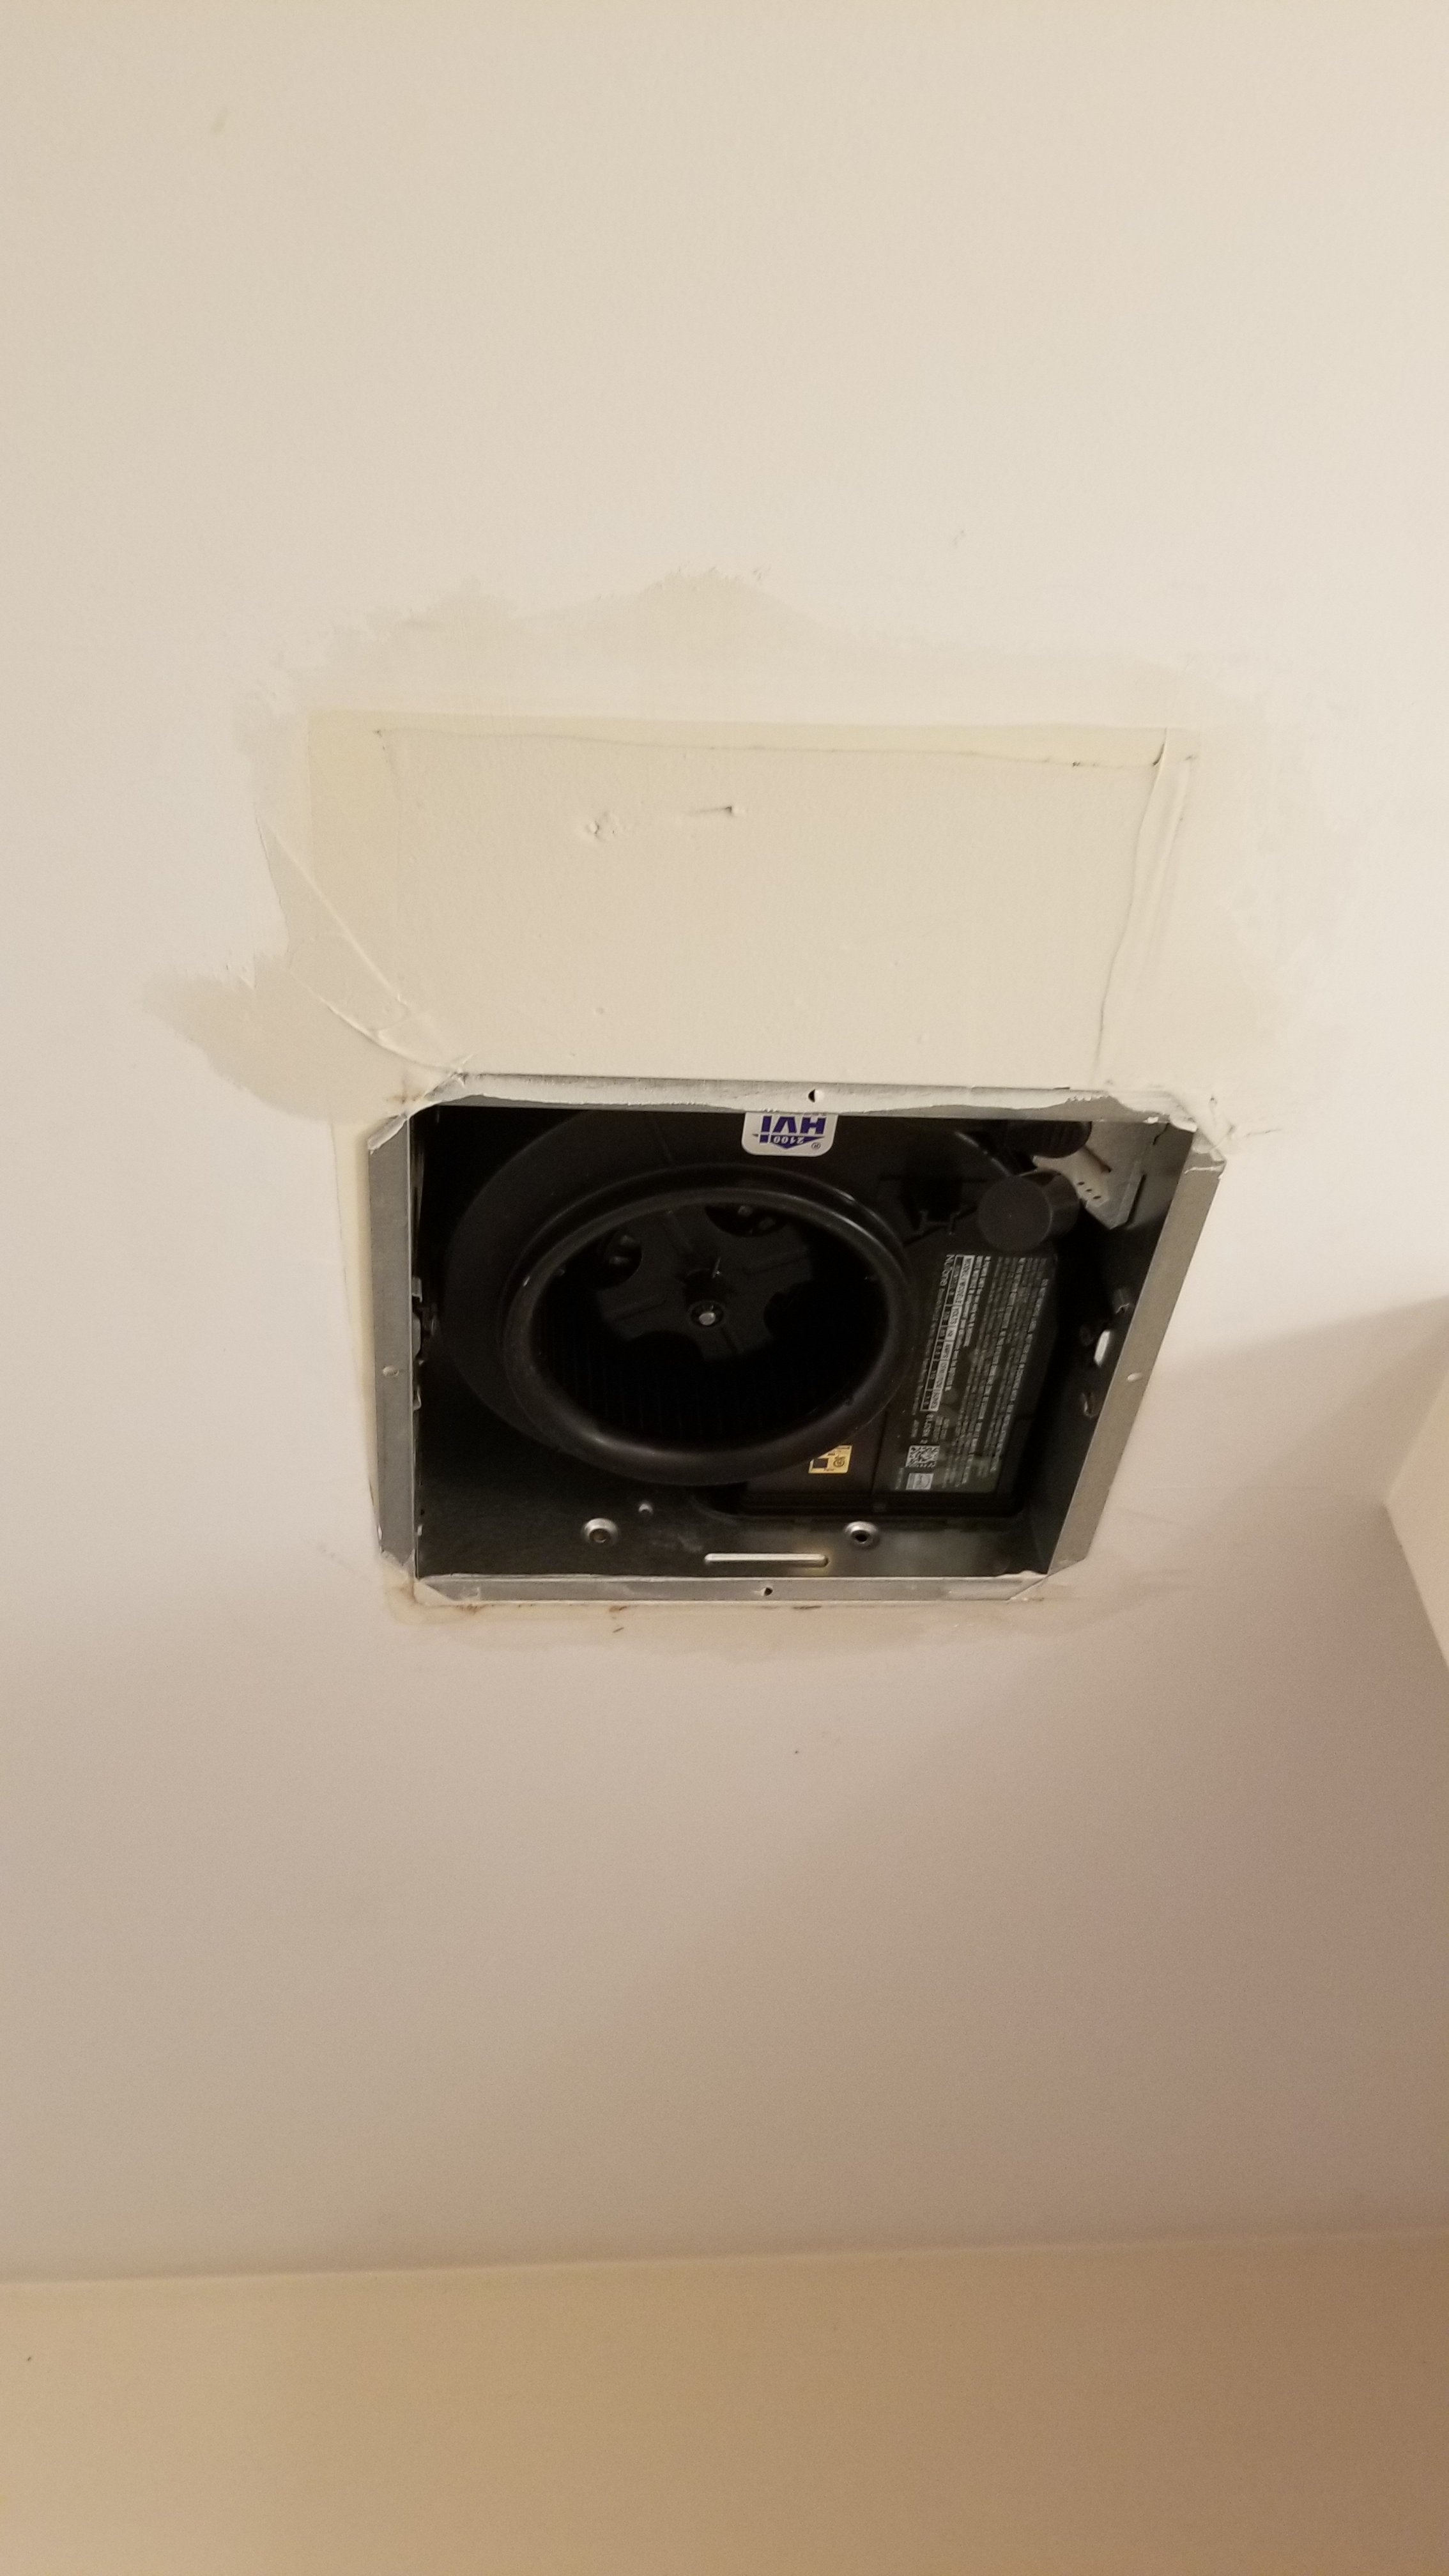
Boom. One coat of mud and it’s already so much nicer than the old one. Tomorrow, we’ll sand and get another coat of mud on. It takes about three coats with sanding in between to get a seamless appearance. There was a bit of work in the attic that I didn’t document: mainly moving the vent duct out from underneath the insulation. Tomorrow the energy efficiency contractors will be air sealing the attic and blow in insulation. This will be my last time in the attic. Yay! Updates to come.

0 Comments
Leave A Comment