February 26, 2013
His And Hers Lamp Shades
Phase 2 of the master closet makeover has officially begun: DIY-ing a bunch of accessories. Up first were the light fixtures.
How these ancient light fixtures made it into our house that was built in the 90s is completely incomprehensible. They must have been rotting at the builder’s warehouse for decades before he decided to finally get rid of them in our lovely home. Too brassy, too teardropish, and too much weird glass texture. They had to go.
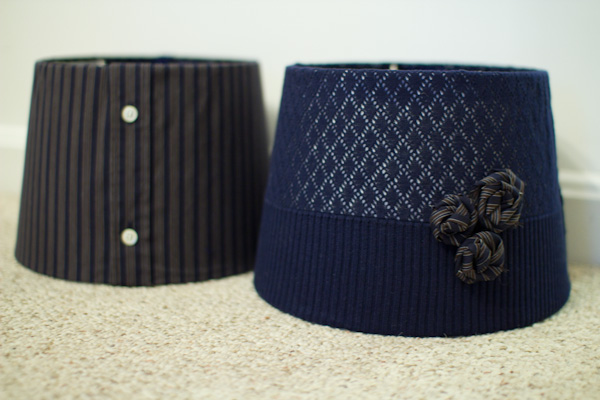
So in accordance with our customized his and hers shelf solution I decided to also make a male and a female lamp shade. After finding inspiration and figuring out the best way to spice up plain lamp shades, I came up with a plan: I would literally dress up these lamp shades:
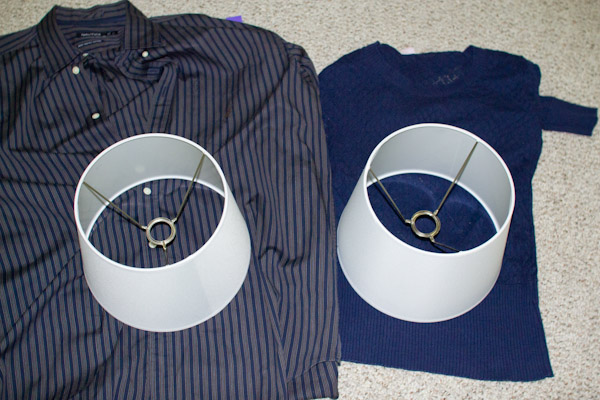
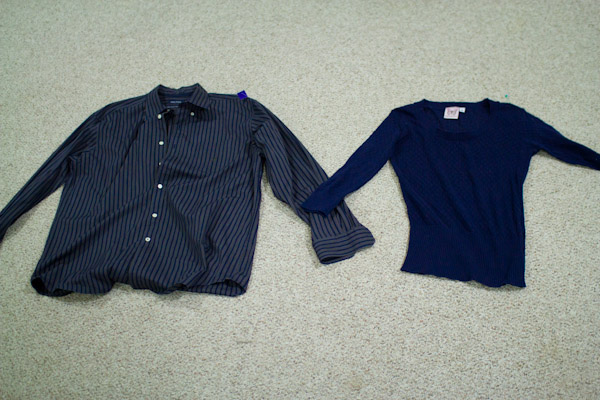
One in a men’s dress shirt, the other one in a ruffly skirt. But they still had to match, so they both had to be navy. Navy is a newbie to our house of muted midtone colors. After hubby convinced me that we needed a blue chair for our bedroom (not the neutral grey that I was voting for), I kinda got used to the thought of adding a new color to our master suite.
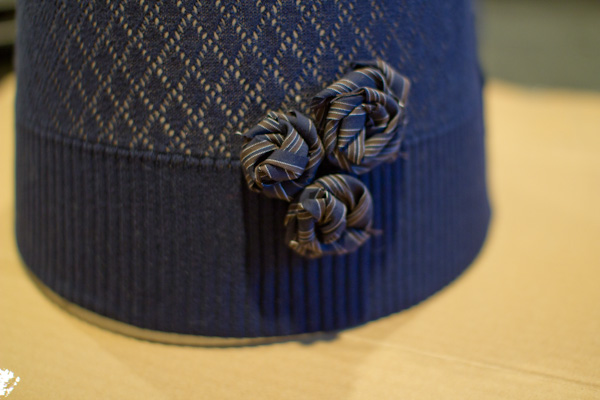
Well, after sourcing two different thrift stores I just couldn’t find any ruffles in blue at all. So I went with a thin navy knit sweater with a see-through hole pattern that makes it look a little lacy. Just female enough without being too frilly. This feels more like me anyway. Here are our two candidates:
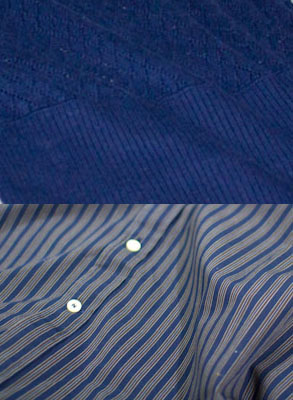
First, I decided which section to use and cut off any excess fabric on top and bottom of the lamp shade. This left me with two wide strips of fabric:
Then, I broke out my hot glue gun and glued down the strip on one side. I pulled it tight around the cylinder, and glued the other end down. Now all that was left was to cut the top and bottom to a uniform overhang, fold the edges over, and attach them by applying a thin bead of glue under the bottom and top rim. Sorry, I didn’t have enough hands nor light to take progress pictures, but this tutorial explains and shows all the steps I took.
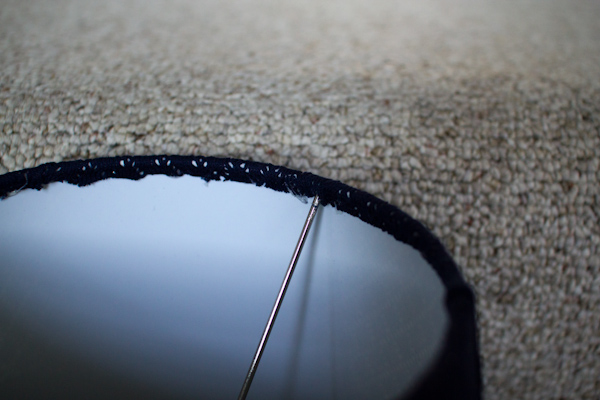
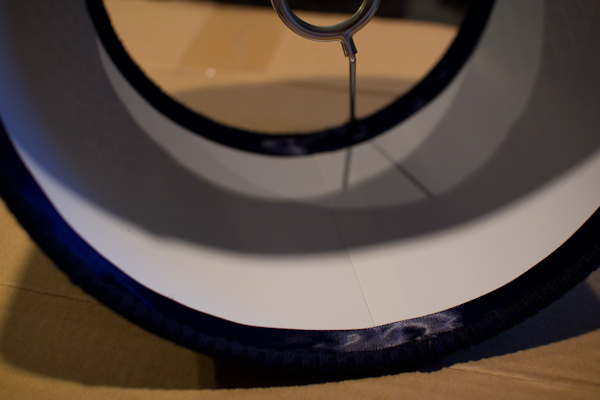
Since I was working with knit fabric, the edges turned out a little too frayed to be pretty. So I bought this half-inch wide ribbon to cover them up. Just glued it on with hot glue as well.
Looking much more finished, there.
Finally, I created a few fabric flowers out of the shirt remnants to really tie the two lamp shades together.
Here they go. Aren’t they a cute couple?
Now I just gotta spray-paint the bases of the existing light fixtures white, and find a way to attach the shades to them. I’ll keep you posted.

