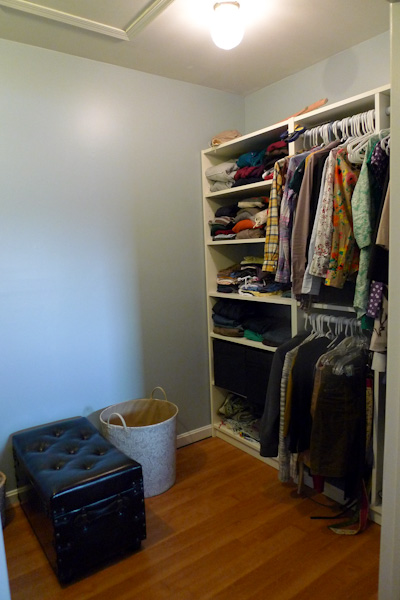
Before, I was just a messy and boring wire closet. Now I am much fancier, colorful, and organized. Check me out:
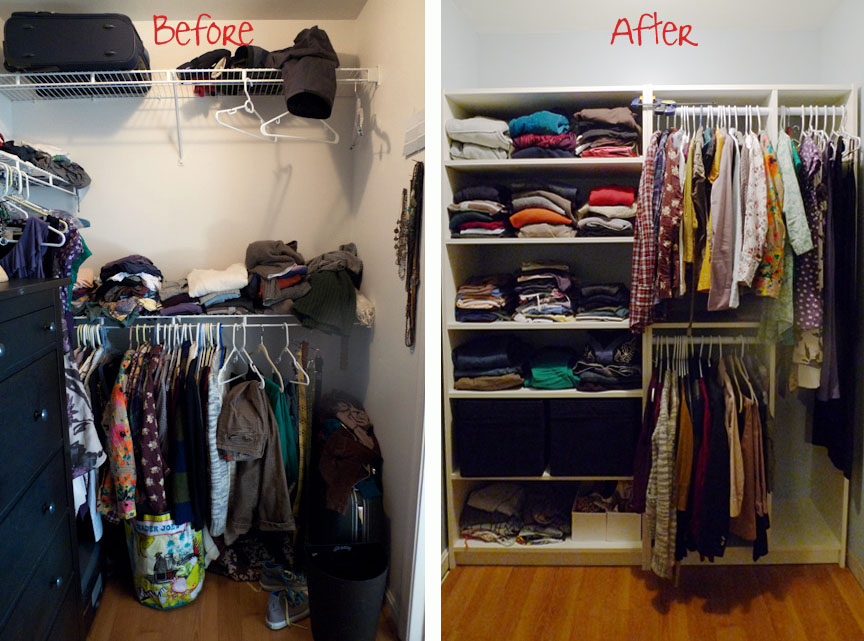
And some more fancy schmanzy before-and-after pictures:

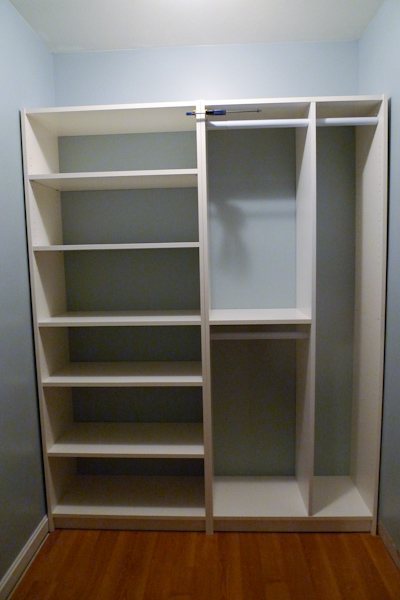
This is where we left you off last time:
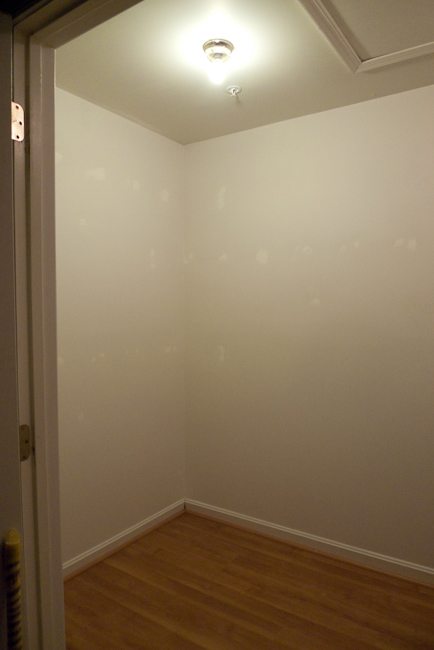
The first step in customizing our master closet was painting it a custom color. The reality is that I was too cheap to buy new paint, when we had three cans of leftover paint sitting in the basement. So, I threw some yellowish white, medium gray-blue, and navy blue together, and ended up with half a gallon of this muted blue (just a little lighter than the picture):

Very similar to the shade that I was gonna get at the store. The amount of paint was just enough to paint all the walls and backboards of the bookcases. Up next was assembling the shelves. Initially I was gonna go super budget and just get one bookcase on each side, plus some rods to build something like this:
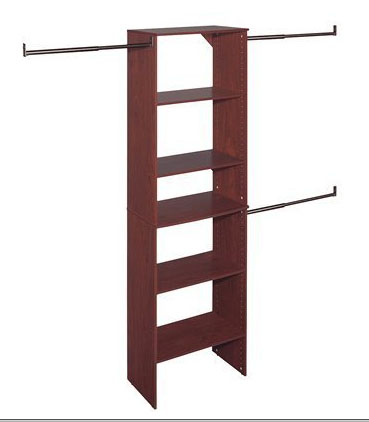
But then I decided to go all out on this project. Just because I had been waiting for this closet for so long and didn’t want to regret any cheap choices that I wasn’t totally happy with. Also I realized that two of those bookcases would fit perfectly in the space. So we got a total of 4 Ikea Billy bookcases, the deeper kind so that all clothes would comfortable fit.
Lincoln’s side was pretty straight forward. For the hanging part of it I got some extendable rods at the hardware store and left all optional shelves out.

On my side we had to hack it a little bit because I needed some taller space for dresses. So we cut the middle board in half, got a laminated board for the center from Lowes (they cut it to the right size and the color and finish was already close enough to the Billy’s so that it was all set to go), and with the help of my handy dandy husband put it all together. Before assembly we had drilled a hole through the center divider so that the rod would just slide through to both sides.
In order to fit both shelves next to each other I had to take the quarter round trim out, so putting that back in will be next on the list. Along with some other detail work:
Paint the walls a grayish blueHack and install white Billy bookcases from IKEABuild in some racks to maximize space usage- Install trim around the shelves
Get some nice storage bins for small things like socksBring in a tall mirror and an ottoman to sit onGet a prettier laundry hamper and trash can- DIY some custom lamps
- DIY a jewelry organizer for the wall
- DIY an organizer for Lincoln’s pocket stuff
- Find a solution to temporarily hold clothes that will be worn again
- Get and hang some wall art
- Maybe a rug
Do the happy dance!
As you can see we already made some progress on accessorizing and dancing as well.
Here is our new hamper ($15 Home Goods) and trash can ($15 Target).
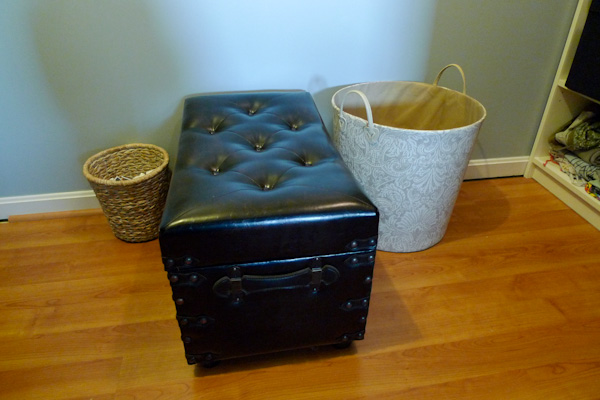
The storage ottoman is from our foyer where we will be adding a storage cabinet instead. Now it is serving to hold my bags and as a seating bench to put on socks and stuff.
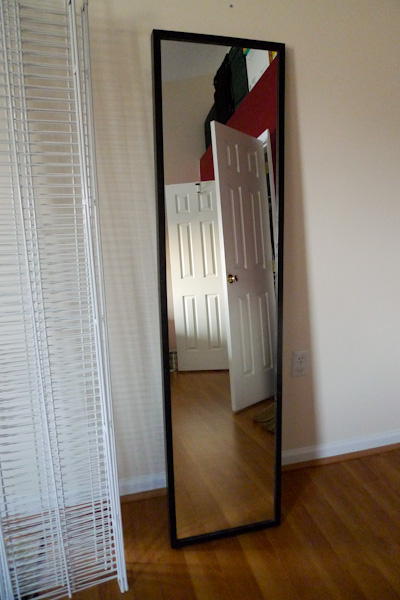
This mirror was previously residing in our bedroom, but for the purpose of fully getting ready in the closet without having to wake up the other sleeping person (Linc and I are on very different sleep schedules) it will also find a spot somewhere in the closet.
There you have it , my new most favorite room in the house.
1 Comment
Leave A Comment