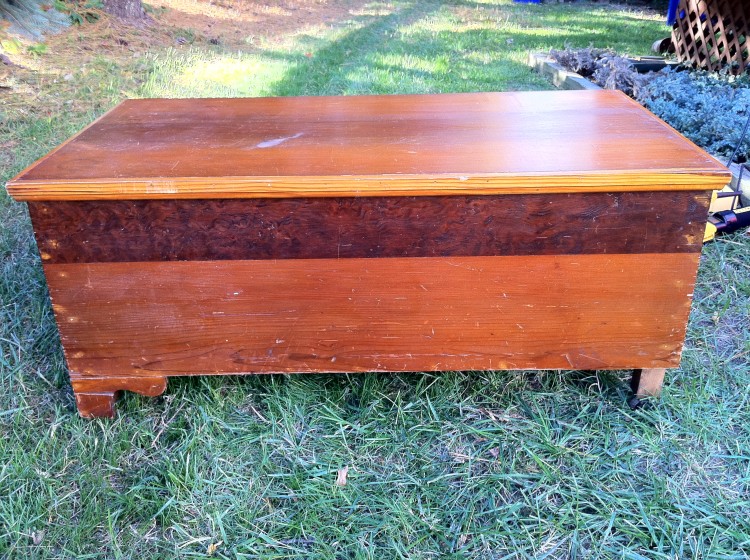
Yard sale season is pretty much over and I know at least one person that is not sad about it. Lincoln always gets very worried when I go out on a yard sale hunt wondering what old piece of crap furniture I will bring home this time. But hey, so far I have scored some really great finds that just needed a little bit of elbow grease in order to shine. Like my ten dollar desk. Or this ten dollar trunk:
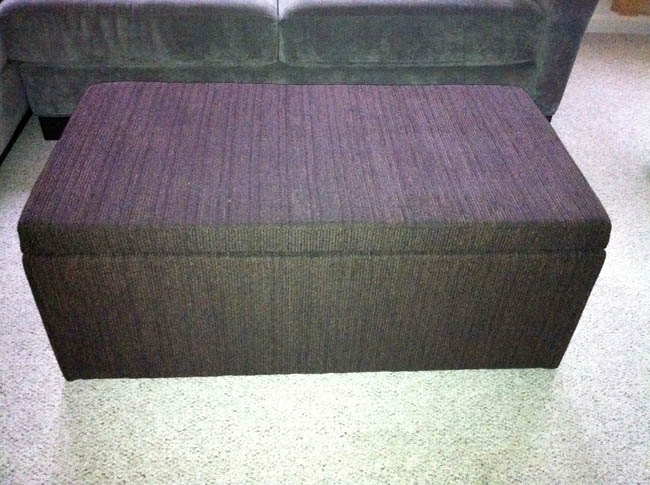
I purchased it together with a big family of spiders and their webs in early summer for $10 and yes, it took a while to tend to it. But finally, here is the result:
Would you have recognized it as the same trunk? Here is how it all went down: At first I wasn’t quite sure what to do with the thing and where to put it. When I saw it at the yard sale I instantly knew that it would be very practical. I just wasn’t quite sure where in my house I needed this extra storage the most. First it was gonna go at the end of our bed. But then the massive amounts of toys in our living room started to really get to me and so the trunk found its temporary destination. It is still a little bigger than what we would like in the living room, but right now it is perfect to hold cars, cars, cars, and balls. And I kept the style pretty neutral so that it can move around in our house as needed. Here is how it looks in our living room:
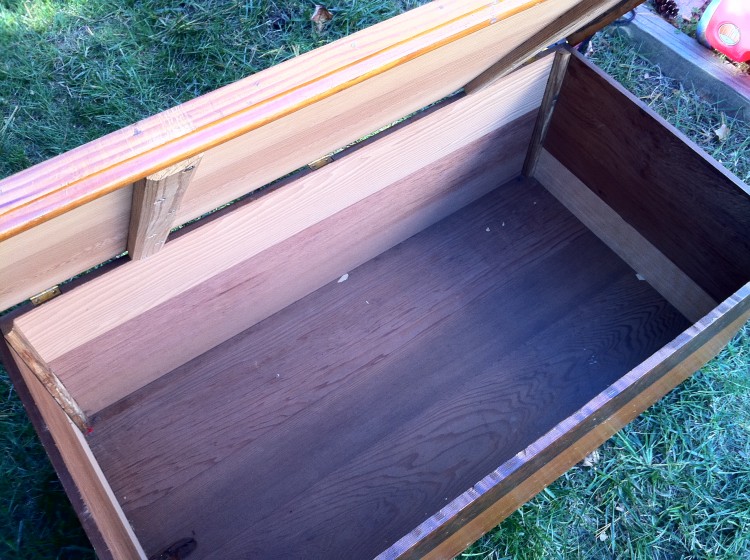
And here is how much storage space it offers:
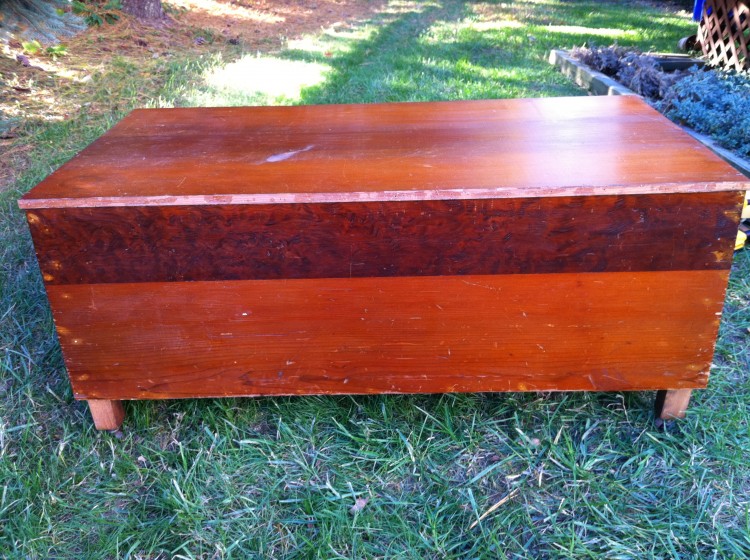
But let’s rewind. At first I was considering painting it since I already had all supplies on hand and the makeover would have had a cost of zero bucks. So I removed all the extra trim and put my birthday present (a sander) to work to remove some very old lacquer. But then I realized that the wood was pretty dinged and dented and would need to be sanded down to almost nothing if I wanted it to look smooth. An even coat of paint would have highlighted all the dents even more. On top of that the living room is a pretty heavily used place for rough playing and we don’t want our son to hit his precious head harder or more often than he already does. Here is how the trunk looked without trim. Later in the game it also lost its flimsy legs.
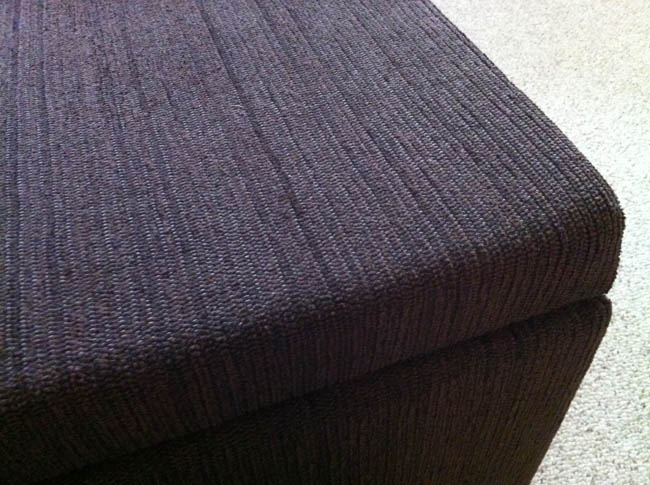
That’s how I ended up going down the upholstering road. And that’s when I understood why ottomans are so freaking expensive. It’s because foam is freaking expensive! Just the piece on top would have been $30 if I hadn’t had a 50% off coupon. Luckily Joann is pretty generous with their coupons and the thicker home decor fabric that is usually pricey as well was marked down to $6 a yard. So all in all I spent $10 on the trunk and $40 on foam and fabric and just managed to stay within my self opposed limit of $50 for a storage ottoman. Look at this pretty corduroyish rough but soft fabric:
I had the top piece of foam (2 inches) cut to size at Joanns and the thinner side side pieces (half inch) were easily cut with a sharp steak knife. Then I glued the foam to the wooden trunk with caulk and got so excited that I forgot to take a picture of this stage.
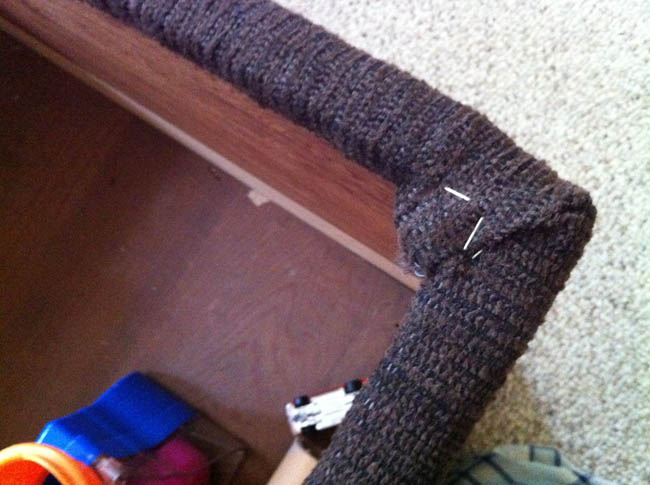
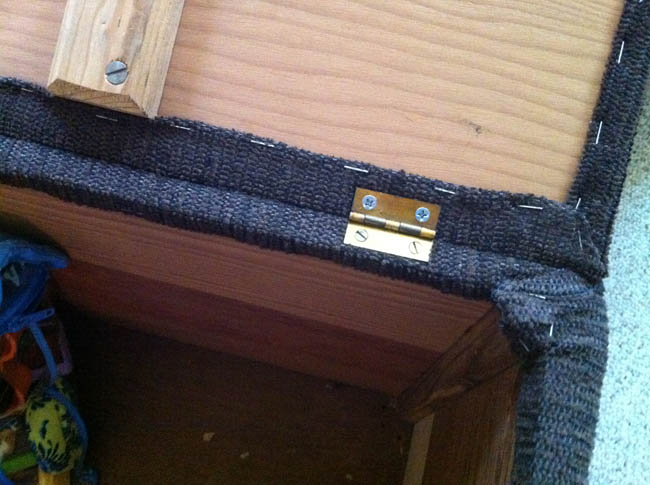
Next step was to cut the fabric to size and sew some simple seams as described here for my other ottoman makeover. Pulling it over the ottoman and stapling took about two hours because this guy needed a lot of staples. A lot!! See here how I tucked in the rough edges, got the corners done, and tried to make it all even. As for the hinges, I just took them off before and then screwed them back into the same places on top of the fabric. Works just fine.
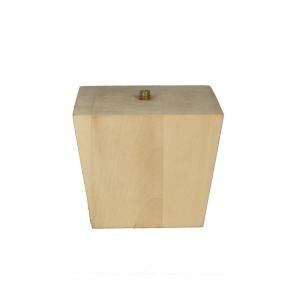
To finish it off completely I am hoping to add some dark tapered square bun legs underneath at some point in the future. Those legs are $8 a piece at the hardware store, so it will have to get done on another month’s budget.
In the meantime Milo is happy that he can reach into the thing perfectly to pick up some cars and let them roll down the lid back into the trunk.
And mama is happy that at the end of the day she can just make the mess disappear and enjoy a clean living room. Life is good.



4 Comments
Love it!
Looks great! Very handy!
You are very crafty! I guess you evicted the spiders before the project began. I like your frame/dry-erase board in your other post too - I'm going to try that one.
Thanks, guys. Yes, the spiders had to go before they would be encapsulated by foam and fabric. The dry-erase board is really easy. Basically anything with a mirror / glass surface works.
Leave A Comment