Man, I feel like I am running on steroids these days. No idea where all this energy is coming from, but I take it. After we finished the new guest room it took me only 2 weeks to complete the new nursery. And now we will get started on ripping down wallpaper in the big basement room. Just trying to get as much in the house done as possible before the third trimester heaviness and then newborn craziness sets in.
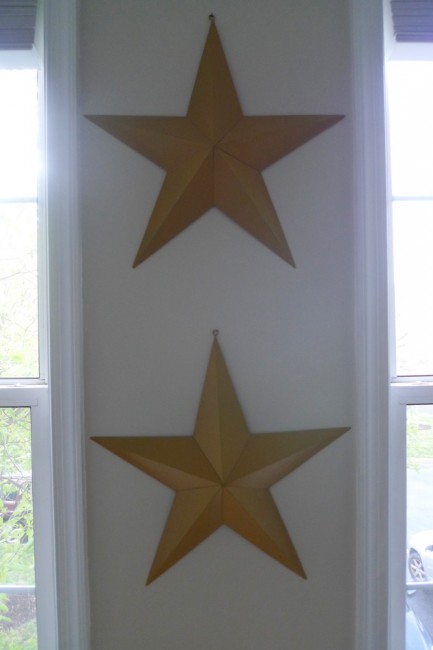
Luckily the nursery wasn’t too big of a project because the walls were already a neutral tan color that anybody can live with, so we didn’t have to paint for this room makeover. It is definitely a more toned down baby room than Milo’s bright blue and green, but hey – nothing to say against saving some time and effort and working with what you got. So all I had to do was to bring in a little bit of color and some baby appropriate decor. When I found these two mustard colored metal stars at my favorite thrift store for $6 the theme was set and stars and moon and night in general.
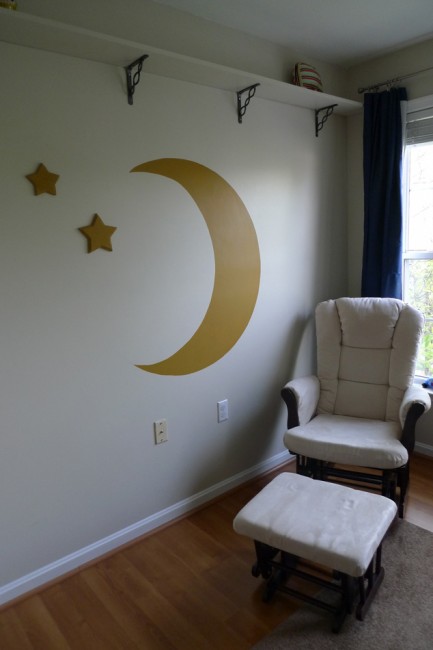
Perfect to set the mood for a well sleeping baby, right? I decided to pair the mustard yellow with a dark night blue and found those brand new black-out curtains for $10 on Craigslist. On the wall opposite of the crib I painted a big moon in the same color as the metal stars and added two wooden stars. Milo already loves that trio, he goes over to his brother’s room every morning and says hello to the moon. There is something about murals that makes him talk to our walls a lot.
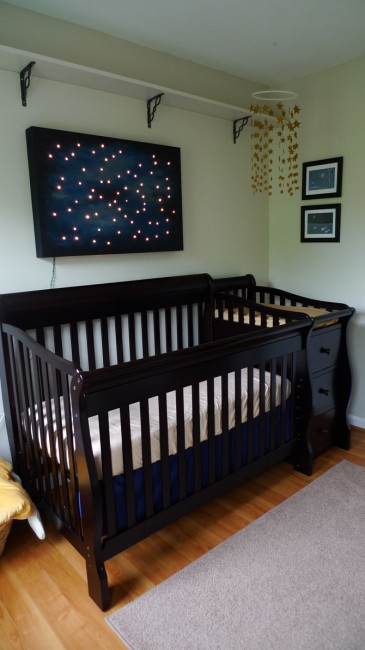
For above the crib Linc and I made this starry night sky light board. I’ll post a separate tutorial for this thing soon.Â
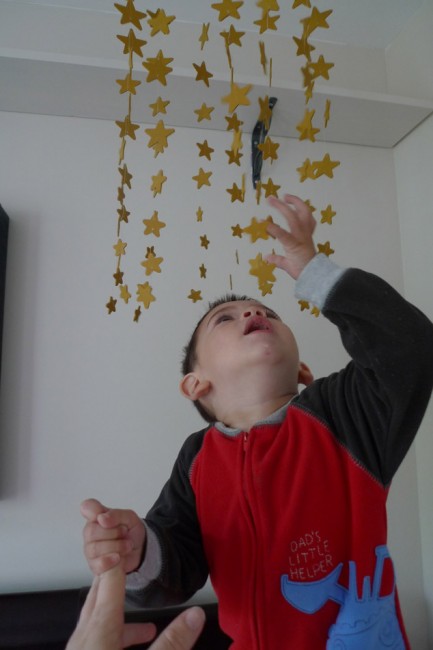
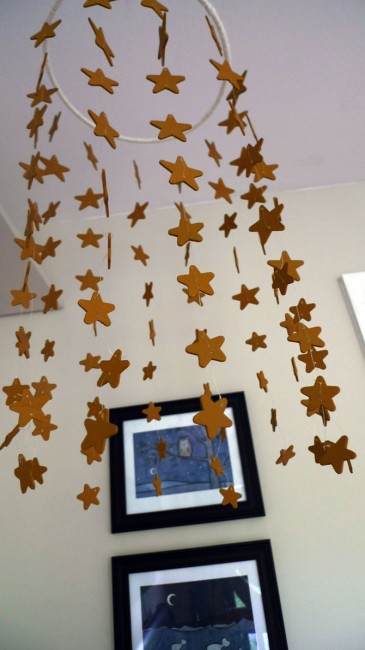
The most time-consuming project was painting all these tiny wooden stars yellow and stringing them up to hang as a mobile above the changing table.
See how Milo is thoroughly testing the new room for his little brother? I am afraid he loves it almost more than his own room right now and I really need to come up with something spectacular for his now empty wall.
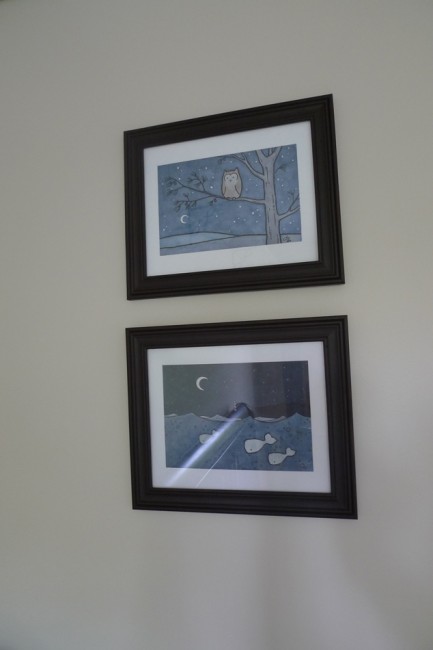
Some other wall space in the baby room was filled with these prints I found and put in cheap frames from Walmart. That’s also where the $15 neutral rug came from.
Since Milo already switched to his big boy bed, we were also able to move the crib over and put the comfy nursing rocking chair in the room. Together with a new crib skirt and color matching sheets this room is officially ready to welcome baby in a few months.
All set for sleepless nights. Bring it on, baby!

3 Comments
I just love your ideas! See you on Saturday. Have a safe flight!
Hello.
I love your starry night light board and would like to make one as well. Are you willing to share your plans?
Thank you very much
Tony,
I didn't have much of a plan, but here is the way I approached it: I bought a 3/4 inch plywood board 3 by 4 feet. MDF would have been better because it is smoother and won't warp as easily. Then I cut a 3/4 inch thick and 4 inch wide board to (2 pieces) 3 feet long and (2 pieces) 3 ft 10.5 inches for the frame. I attached the frame boards to each other via pocket holes in the corner. Then I also used pocketholes to attach the frame to the back of the front board.
Next, I screwed many holes in a random pattern all over the board. You can measure how thick the bases of your string lights are to find the right drill bit. Make sure to also pay attention to how close the string lights are together. I drilled my holes too far apart and was only able to use every other string light with the other one hanging out in the back. This is not ideal since it creates some heat and won't illuminate anything.
After all holes were drilled, I painted the board with regular craft paint.
Then I started sticking the lights through the holes. The base of them was basically resting on the rim of the hole while the bulb stuck through the hole. I carefully put a bead of hot glue on three sides of each light where it met the frame in the back, making sure not to torch the plastic of the lights. After everything was dry and set, I attached the board to the wall using some L-brackets.
I hope this helps. Unfortunately I didn't take many pictures of the process, but it wasn't too complicated.
Nic
Leave A Comment