Remember this post from a while back when Milo’s room got cleared of the baby crib and other nick nacks? Well, of course I didn’t leave it all empty like this.
I’m loving me some blank canvas for more home decorations! The way Milo’s bedroom theme has been evolving it is now clear that it is all about the outdoors. It started with some baby froggy gifts, then came the tree, the tent, and now we are all about camping outdoors. So, here is where we went with some more upgrades to his big boy room.
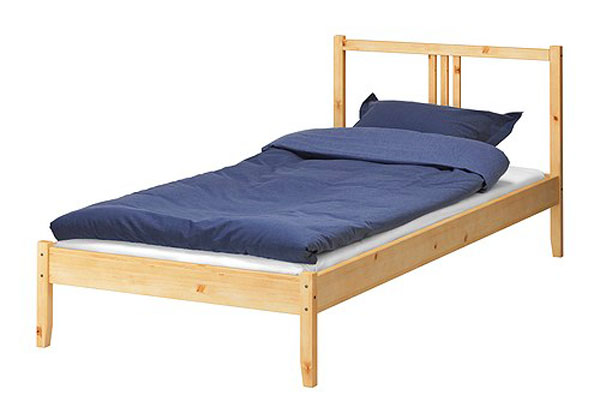
First, we went to IKEA, bought the cheapo Fjellse bed frame for $40, hacked it and stained it.
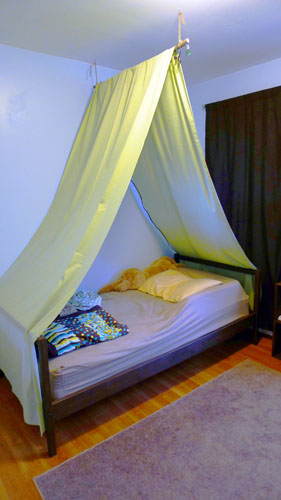
I wanted the thing to have a footboard as well as a headboard for symmetry, plus the headboard didn’t need to be quite that high. So Linc built a footboard out of some 2x2s, shortened the headboard and attached them both to the bed. Then it got stained brown to match Milo’s bench.
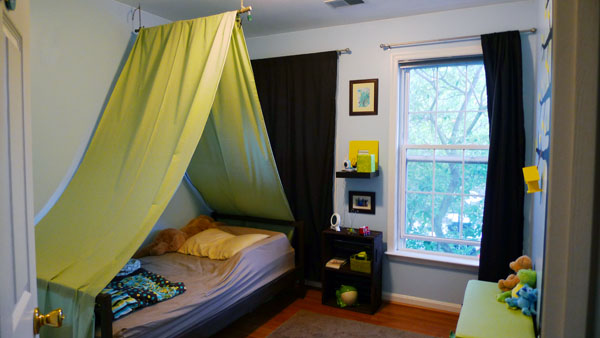
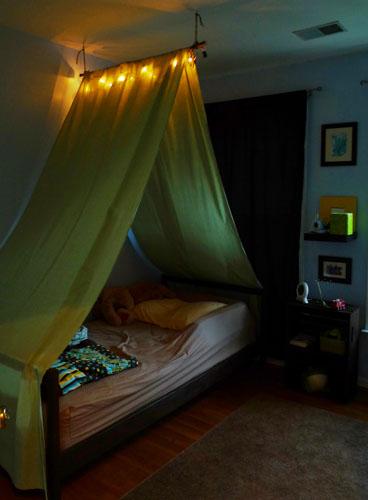
Since the temporary play tent solution worked so well to transition Milo from crib to bed, I decided to make him a new big tent. This version is really easy to build:
1. Find a straight branch and attach it to the ceiling with string and loop hooks.
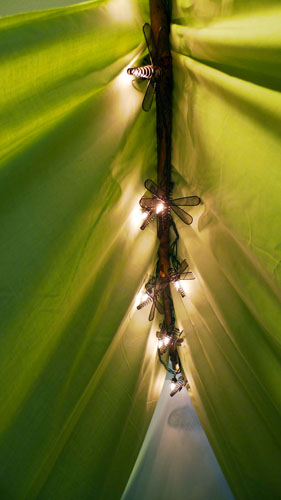
2. Wrap a dragonfly light string around the branch
3. Throw a couple of yards of cheap fabric (got these 6 yards for $18 at Joanns, but really only needed 5) over the branch.
I also ordered some of these bed bumpers (for some reason their price went up quite a bit, I got them for under $20) that are placed under the bedding and prevent any active movers to fall out of bed while they are still learning to sleep like a big boy.
Milo loves hanging out under the dragonfly lights in the evening. They make for a really cozy atmosphere in his room.
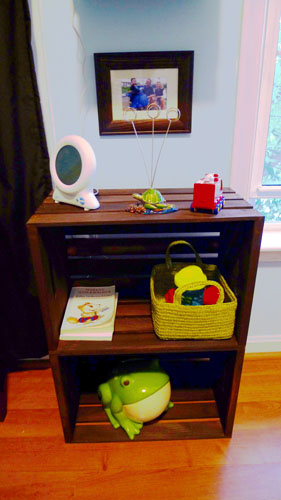
The next step was to build a night stand to go with the new bed that could hold some of Milo’s essentials like his favorite good night books, a drink, his frogs, and his Gro-Clock. This sleep training clock is the best on the market in my opinion and also acts as a night light. See my more detailed review on this purchase here.
So I got two wooden crates for half price ($15 for both) and stained them the same brown as the bed. Afterwards I just stacked them on top of each other, which is more stable than expected and leaves the opportunity to use them separately again in the future.
Then Milo helped me paint this little bird house yellow that now adds some dimension to his painted tree:
The biggest improvement, however, is almost invisible in all the pictures, yet makes such a big difference to the room: Milo finally has a real ceiling light. One that turns on when you hit the switch at the door. Nothing special you might think, but somehow the previous homeowners had never installed it. Instead in both kid’s rooms (as well as the master and the living room) the light switch controls a wall outlet. But since we are not a big fan of having floor lamps standing around and they really aren’t an option in kid’s rooms where the plug can be pulled and the whole thing can topple over, we have been sort of living in the dark for a bit.
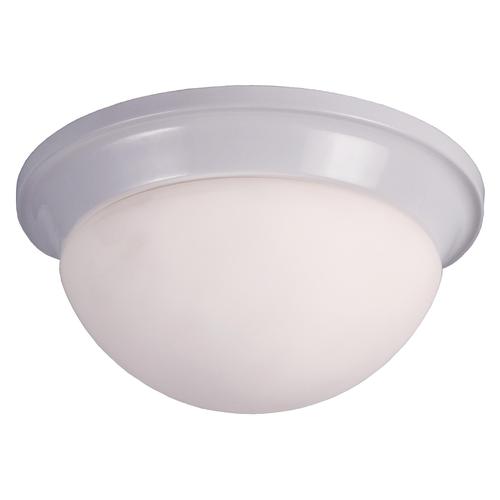
Until one warm day my handy hubby climbed up into the attic a.k.a sauna, ran some wires, and then installed this light fixture in Milo’s room that we had taken out of the guest bedroom in the basement:
Yeah, it does not look crazy cool, but it was free, and it makes light. Which is really a big help in reading books and getting the boy ready for bed. It is not said and done that I might not upgrade it to a DIYed lamp shade at some point in the future, but right now we are all happy with the way Milo’s room works and how it offers him a cozy comfort zone. Believe it or not, the other day Milo went up to his room and put himself down for a nap all by himself.




9 Comments
You all are so creative! I love all the little details - Great job!!
Thanks! I felt so guilty putting all the effort into the baby room that I just had to do something special for Milo too. Is this how it's gonna be with two kids? You feel guilty doing something for one of them and then have to do the same for the other one? Ugh.
This is such a great idea. I have been working on getting my daughters room together and now also felt guilty about my sons room! He will love this over the bed tent! Thanks for sharing
HI. Just curious. -- how has this tent canopy held up? I'm thinking of doing it over beds for two of my boys who share a room. I just know there won't be a ceiling joist in the right place and i'm wondering if you installed it into a ceiling joist or just drywall ceiling? and has anyone tried swinging from it?? my guys are 5 and 8 so in theory old enough to not do such things -- no they aren't . . .on second thought
thanks
Jessica
Hi! Thanks for checking in. I'm happy to report that the canopy has held up great for us. I only used some hooks and screwed them right into the ceiling drywall. No joists required. You certainly wouldn't be able to hang onto them though. The thing is, because I just loosely laid the fabric over the bar, if anybody were to pull on the fabric, it would just slide down on that side. That did happen sometimes, that somebody pulled on one end and I had to pull it back down on the other hand. I was thinking about stapling the fabric to the ends of the bed, but then we converted to a loft bed. All in all, it was fun while we had it and made for a cosy cave.
I love this idea! What kind of fabric did you use for the tent?
Leave A Comment