One thing I would never do again, is to start renovating while moving. It just made so much sense to make over the laundry room while there were no machines in it, but we only had 4 days to move and throwing a renovation into that mix was just a little bit too much.
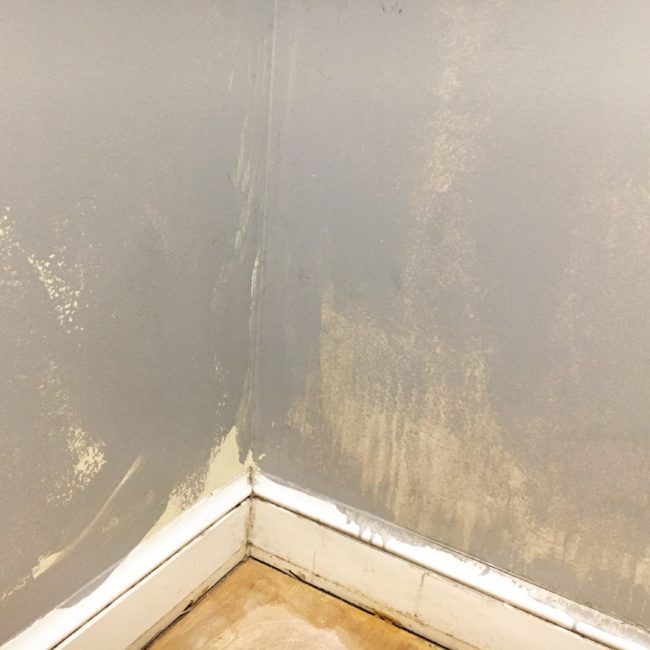
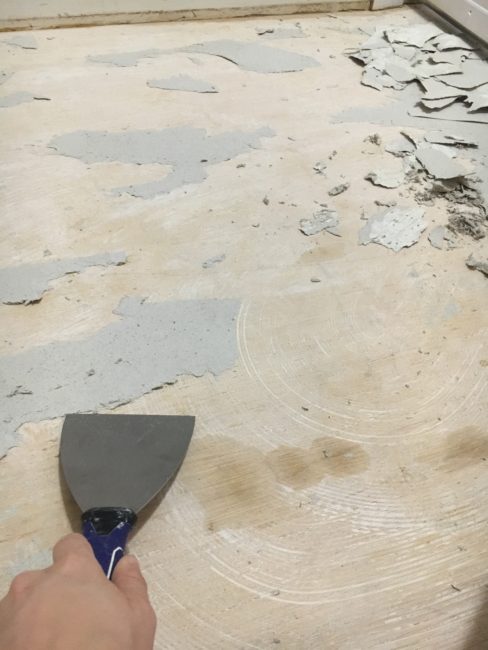
Anyway, it had to be done. It was started at an inconvenient time, and then we finally finished the project two weeks ago. Our first full room make-over here. The laundry room came with a very old washer and dryer. Otherwise, the room was generally gross. There were old socks and piles of lint behind the old machines. This is what it looked like after we cleaned it:


The wall paint job was the worst I had ever seen in my life. I mean, come on, somebody did this and then decided their job was done?!!!! Even Felix can do better than this:
Step 1: Get rid of old washer and dryer. They were in such rough state that we couldn’t even get anybody to pay money for them and ended up just giving them away for free.
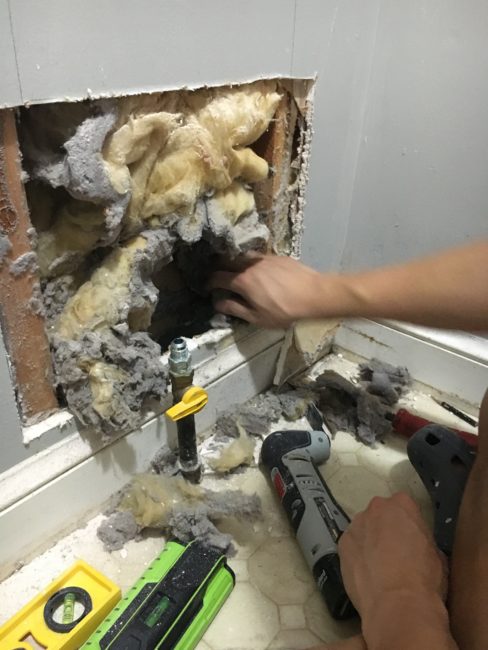
Step 2: Install a new dryer vent. So that the dryer can actually connect to it and not just blow all the lint into the wall and the room.Â
Before 
During 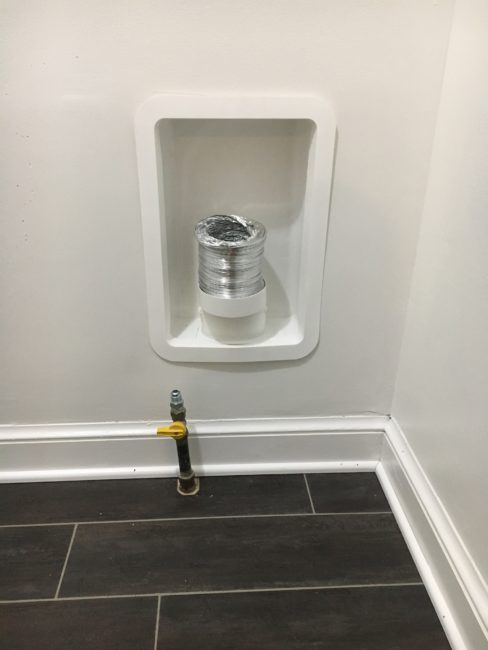
After
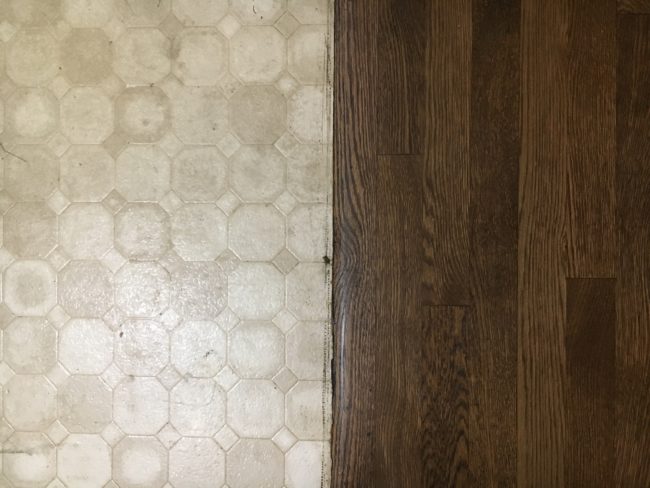
Step 3: Install new flooring. In an ideal scenario you would paint the room first, but I just needed to get the floors done to get the machines in and the laundry washed. The old floor was a sheet of ripped vinyl that came up at the corners and was damaged and stained everywhere. We used the same tile we had installed in our old master bathroom. It’s a vinyl tile that is groutable, and you can’t tell at all that it’s not real ceramic tile unless you press your face into it. Vinyl tile also has the advantage that it’s a little flexible, dampens sound better, has a lower profile for a seamless transition to the neighboring wood floors, and feels warmer under foot. Install is a breeze too. You can just cut the tiles with a box knife. The back comes with a self-sticking adhesive, but we used extra vinyl tile glue on the floor just to be 100% sure they don’t come loose.
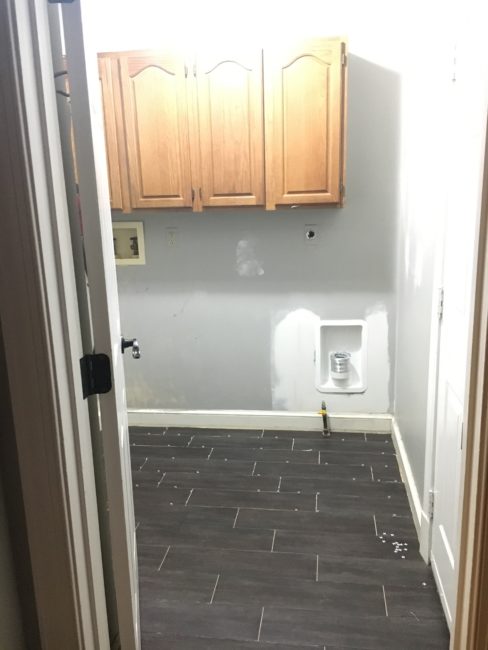

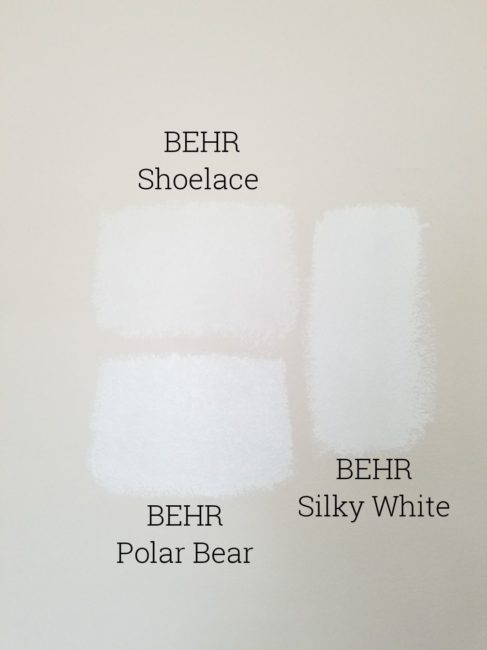
Step 4: Paint. It took one really good wash to get all the grime off the walls, and then up to three coats of paint in some areas to paint over the shitty paint job. I used my new favorite white paint color – Behr’s Silky White. Its a creamy white, that reads definitely still white, but is not too stark. The trim is Behr’s Polar Bear. I was considering doing something really funky and bold in here like wallpaper or tiled walls. That may be for another day. Or never. For now just having a bright and clean room seems perfect.
Step 5: Take out the laminate cabinets. They made the room feel more cramped and we don’t really need any storage in here. The house already comes with an abundance of storage space for all the stuff and this room is for laundry only. We moved the cabinets into the garage to store gardening supplies and tools.
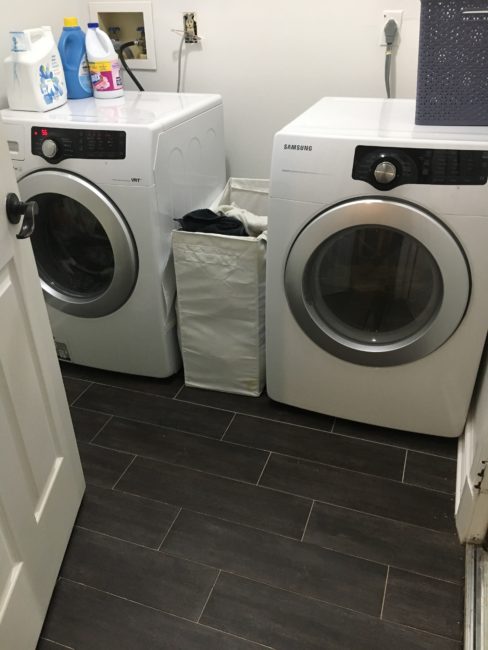
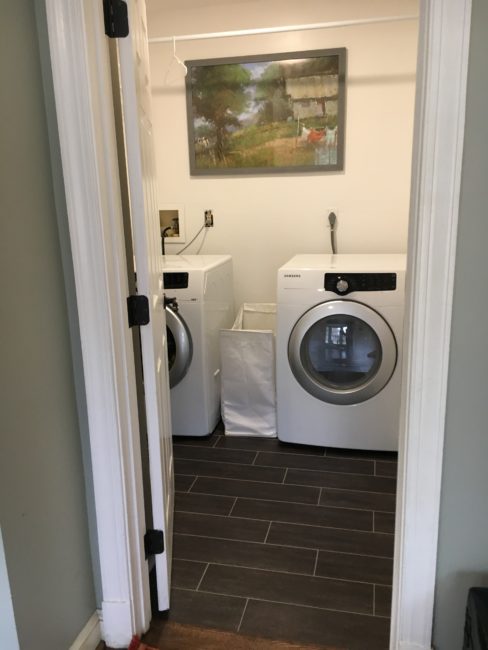
Step 6: Install new washer and dryer. These weren’t actually brand new. We found them used and in good condition for a great deal and they are the same models we liked at our old house. It took us about three weeks to complete this step after moving in and the laundry situation had reached critical status at that point. It never felt so good to have clean clothes again.
Step 7: Start decorating. I found this print online and blew it up to hang in a big frame. The pole is a shower tension rod that we can use to hang-dry some sensitive shirts.
Step 8: Install countertop and shelf. We made them from solid oak with a light brown stain. They aren’t actually that thick, we just added a piece of face trim to the front to make them look more substantial.
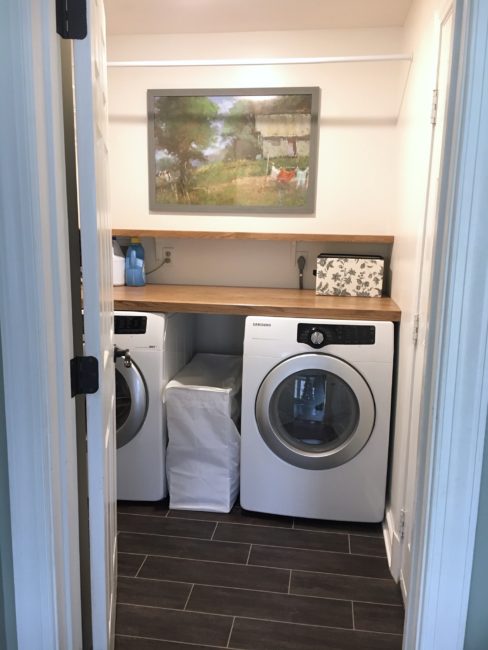
I might still work on hiding those power plugs a little better, but otherwise this room is declared fully functional, nice, and done.
0 Comments
Leave A Comment