
Glimpses
Snapshots of our lives
July 26, 2011
Bye Bye Marilyn!
The first tiny little improvement in the guest bedroom is done. Marilyn was separated from the light switch and had to make space for a very plain white switch plate cover. Makes a big difference already, but now I am getting even more ambitious and thinking about something fancier. Maybe prettying up the cover with some cute paper?

July 26, 2011
Willkommen, bienvenue, welcome!
These are the future colors that will welcome our hopefully many dear guests. Yes, while it seemed like I was just sitting back and relaxing to recover from the last major room makeover, I have been secretly getting very excited about the next project – the guest bedroom. One, because this room is a very blank slate. All we have at the moment is bedsheets. Two, because this is a room we won’t use on a regular basis I expect very little interference from my practical-oriented husband. Yayy! Last Saturday morning I ran some errands to gather all materials needed for the DIY parts of the makeover and also happened to run into this great moving sale and scored some great vintage finds for the room.
This is what the room looks like at the moment:
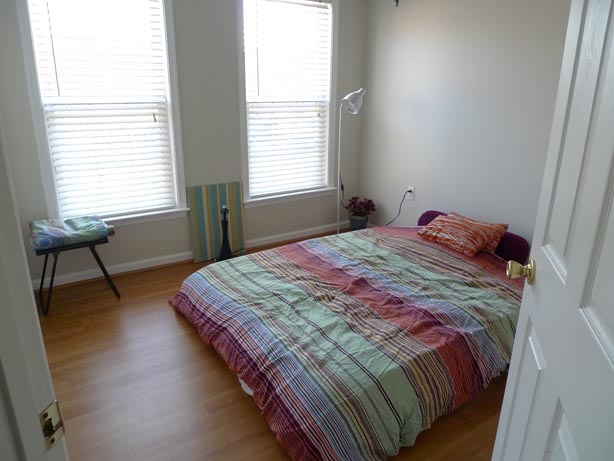
And here is the scoop about what is planned:
– Keep the shelves (figure that!) and decorate them with travel-themed collectibles
– Buy a mattress and find a cheap white bed frame or make a headboard out of old wood
– Make nightstands out of suitcases
– Hang curtain rods and sew curtains
– Make some wall art
– Ideally change out the bed sheets for something more matchy with the new room. But this depends on the budget.
These ideas from Pinterest are my inspiration:


July 21, 2011
Happiest wreath of the block
After it took me “only” 4!!! weeks of making over Milo’s room (man, I wish making over the house was my only full time job!) it was time for a quick reward project that could be done in two evenings.
Another one of those placeholder items that came with the house had to make way for some real style. The wreath.
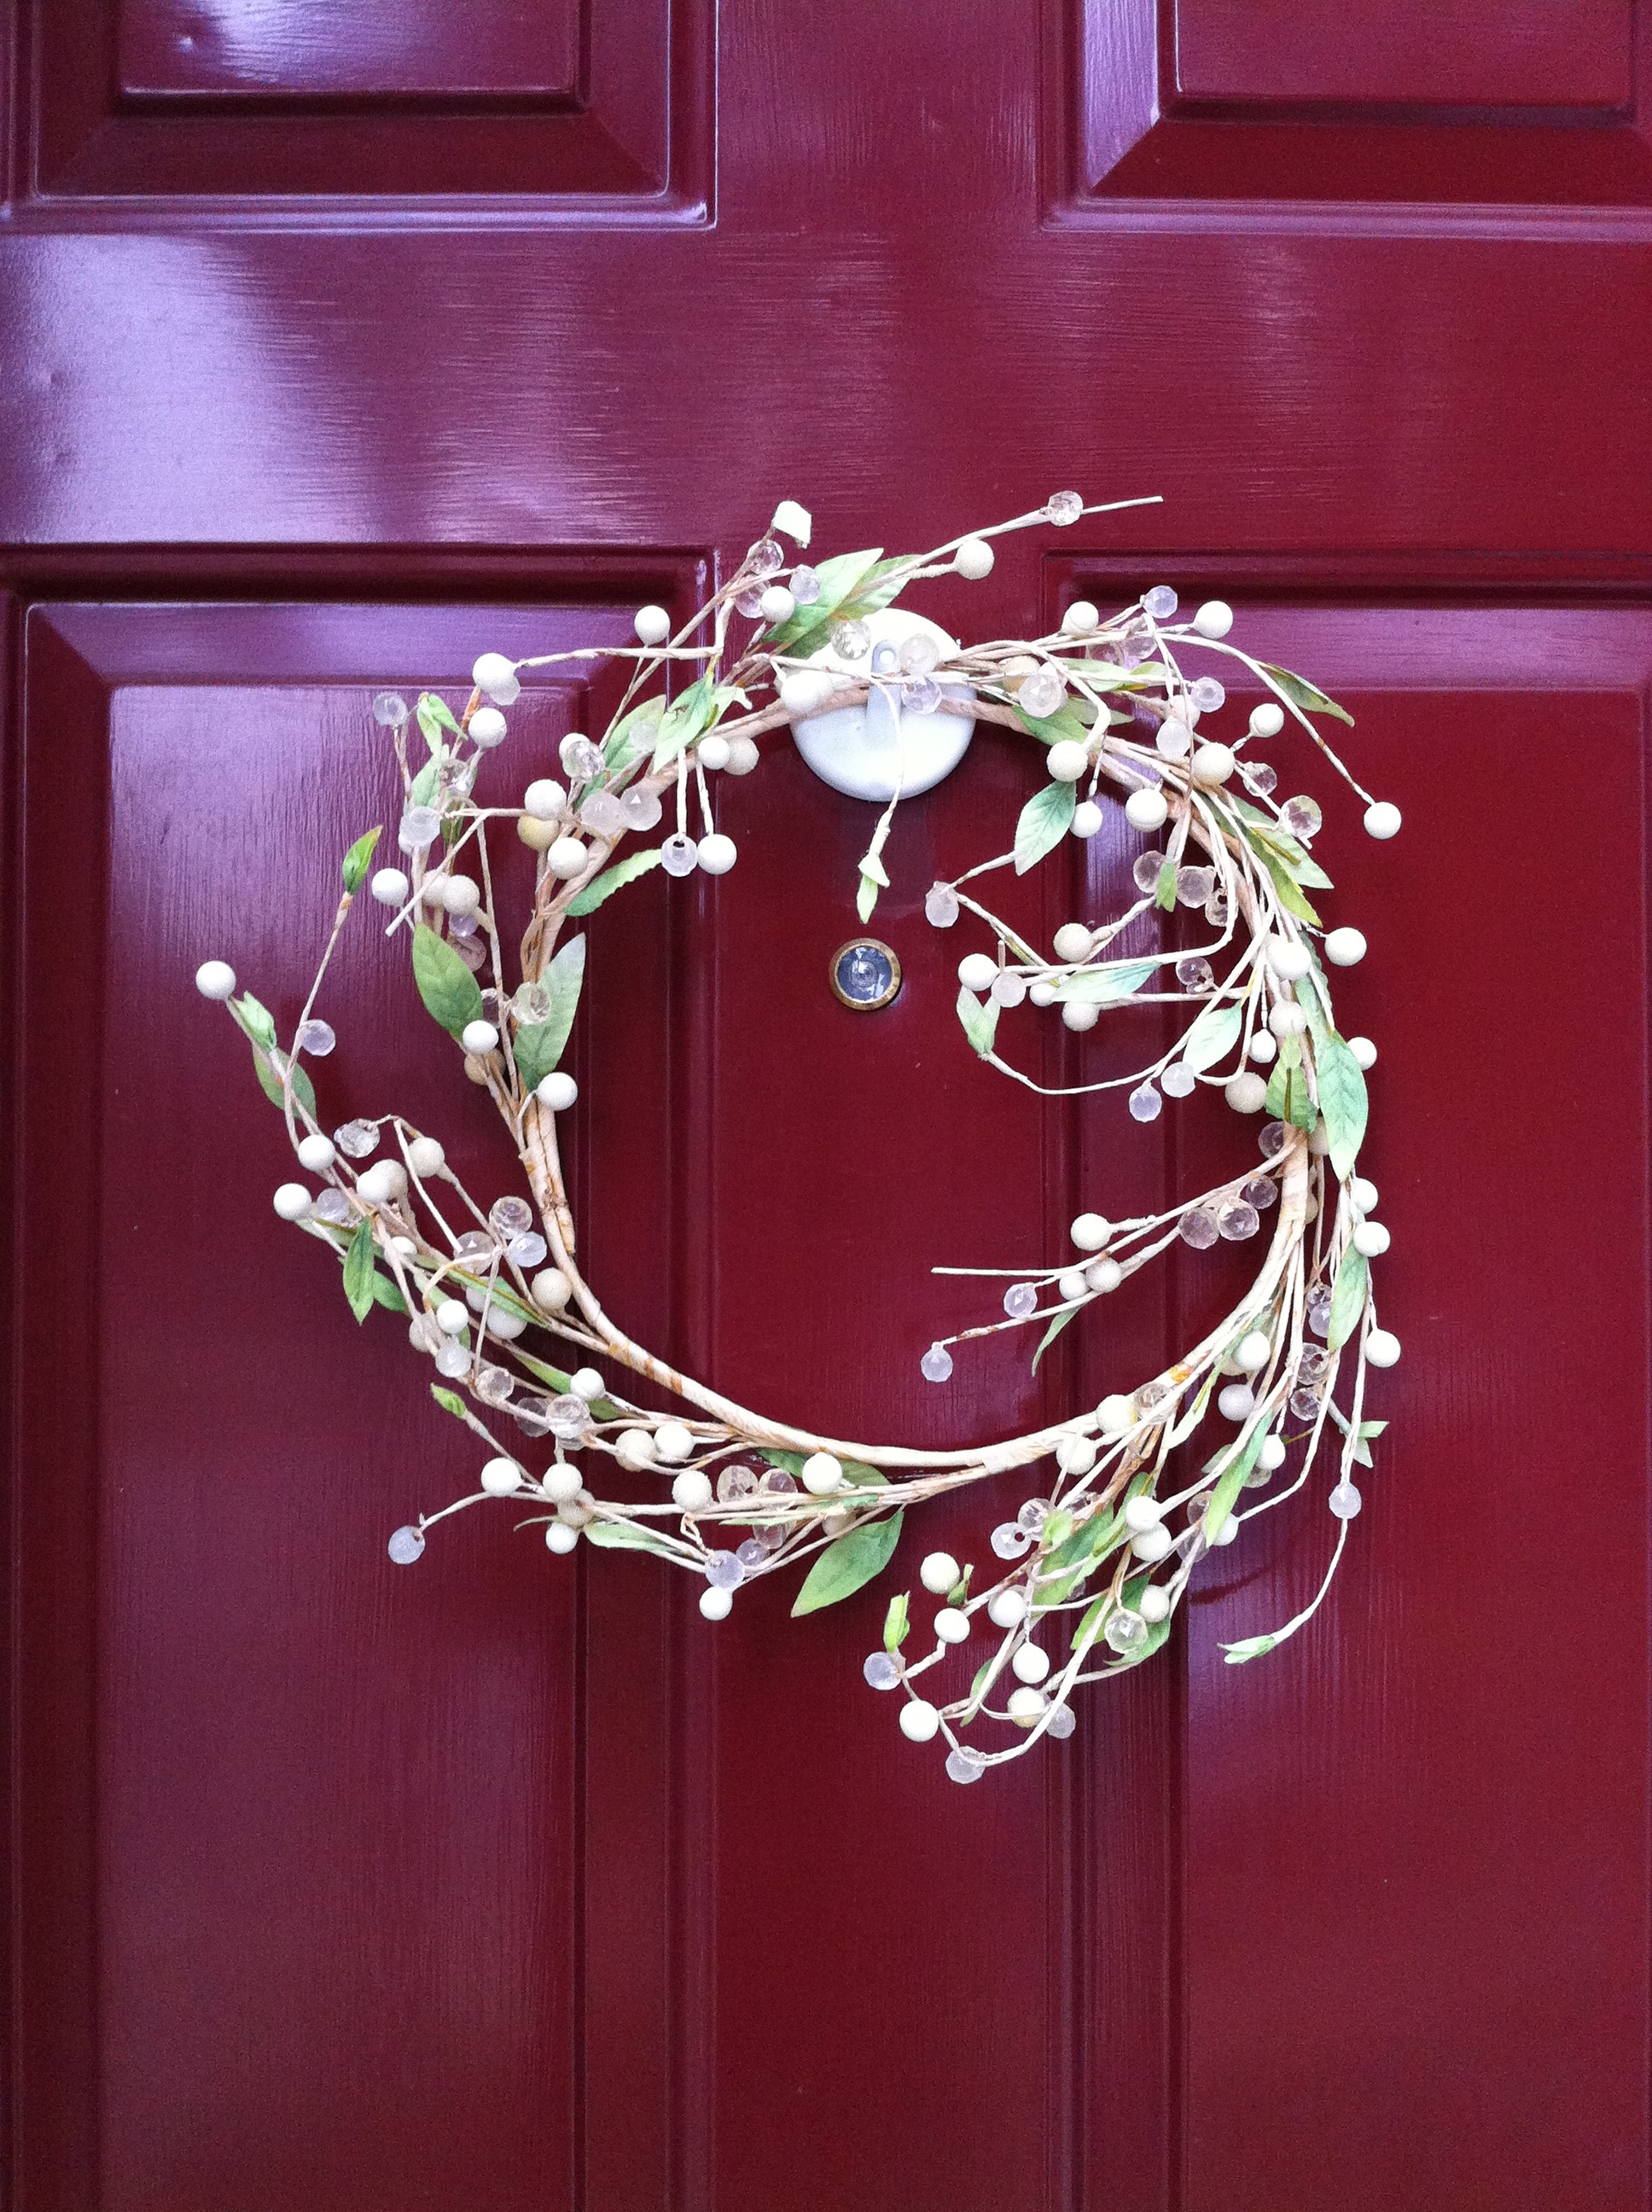
While I spent the first 30 years of my life in the belief that wreaths on the door are for old grannies only, this modern twist of the round door decor got me inspired:

Source: mostazaseed.blogspot.com via Nicola on Pinterest
Find the tutorial for the wreath and the felt flowers on it here. The only thing I modified was to wrap the styrofoam ring with batting and ribbon to give it some more volume underneath the yarn. And this is the cheerful result that greets our visitors from now on (in reality the blue is more teal, and the orange more yellow):
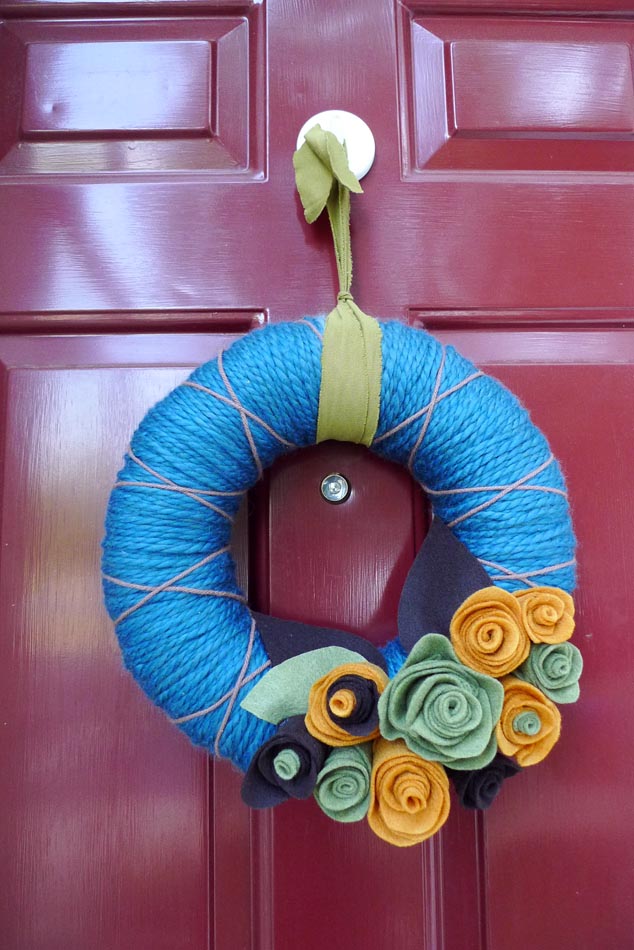
Doesn’t it totally want to make you stop by for a visit?
July 21, 2011
Ready for the big ONE!
Milo’s room is done! At least for now. Somehow one small detail always remains unfinished in my projects. Like that line of silicone that is still missing to seal the gap between kitchen countertops and back splash. I admit, I have a problem starting new projects before the prior one is completed. I think it’s a way for me to always keep a back-up project on hand in the fear of running out of stuff to do. But I always have a good excuse.
For example this one: The light switch in Milo’s is hooked up to the electrical outlet right behind his crib. Very conveniently located for the kiddo to pull the plug out and stick his finger into the outlet. The plan was to move the wire to the ceiling and install a proper ceiling light. Now that would require Lincoln to go up in the attic to install the ceiling receptical. Let’s see, 100 degrees outside, 70% humidity, take that times 5 for the climate in the attic = not gonna happen until it significantly cools down. In the meantime some tape over the plug has to do it.
Anyway, I declare this project completed. For now at least. Sweet dreams and play time, my son!

Read here, what the original plan was for the room, how the shelf almost caused a divorce, and how the tree came to life.
What do you think? What would you do for a little toddler’s room?
July 15, 2011
The tree is up
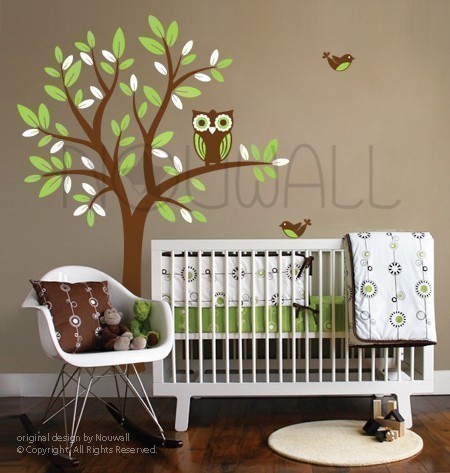
Here is an update on the tree that I painted on Milo’s wall. It all didn’t quite go as planned, but I kind of like the result. My very first idea was to buy a tree wall decal and save all the work of painting. Then I decided against spending money and for painting. But, I didn’t want to risk to free-style it, so I went to look for inspiration on Pinterest and Dr. Google. This is what I was intending to replicate, minus the owl:
When I started drawing the outline on the wall with a pencil (chalk would have been better, but didn’t have any on hand), I realized that I didn’t really care for the curvy branches and wanted to keep the tree more straight and edgy. In the course of changing the direction of this tree an entire eraser lost its life and I did end up free-styling the thing. (more…)